Recently, I’ve been trying new things and putting myself in new situations – I’m even writing this post sitting at a bar by myself! It’s a bit nerve-wracking going to new places solo, but I think the more you put yourself in these situations, the less awkward it feels. I used to go out solo all the time, but it’s been a few years since then. It may feel like people are watching and judging, but most of the time, they’re focusing on themselves. On top of that, you’ll probably never run into them again (unless you become a regular and they’re themselves a regular too, haha).
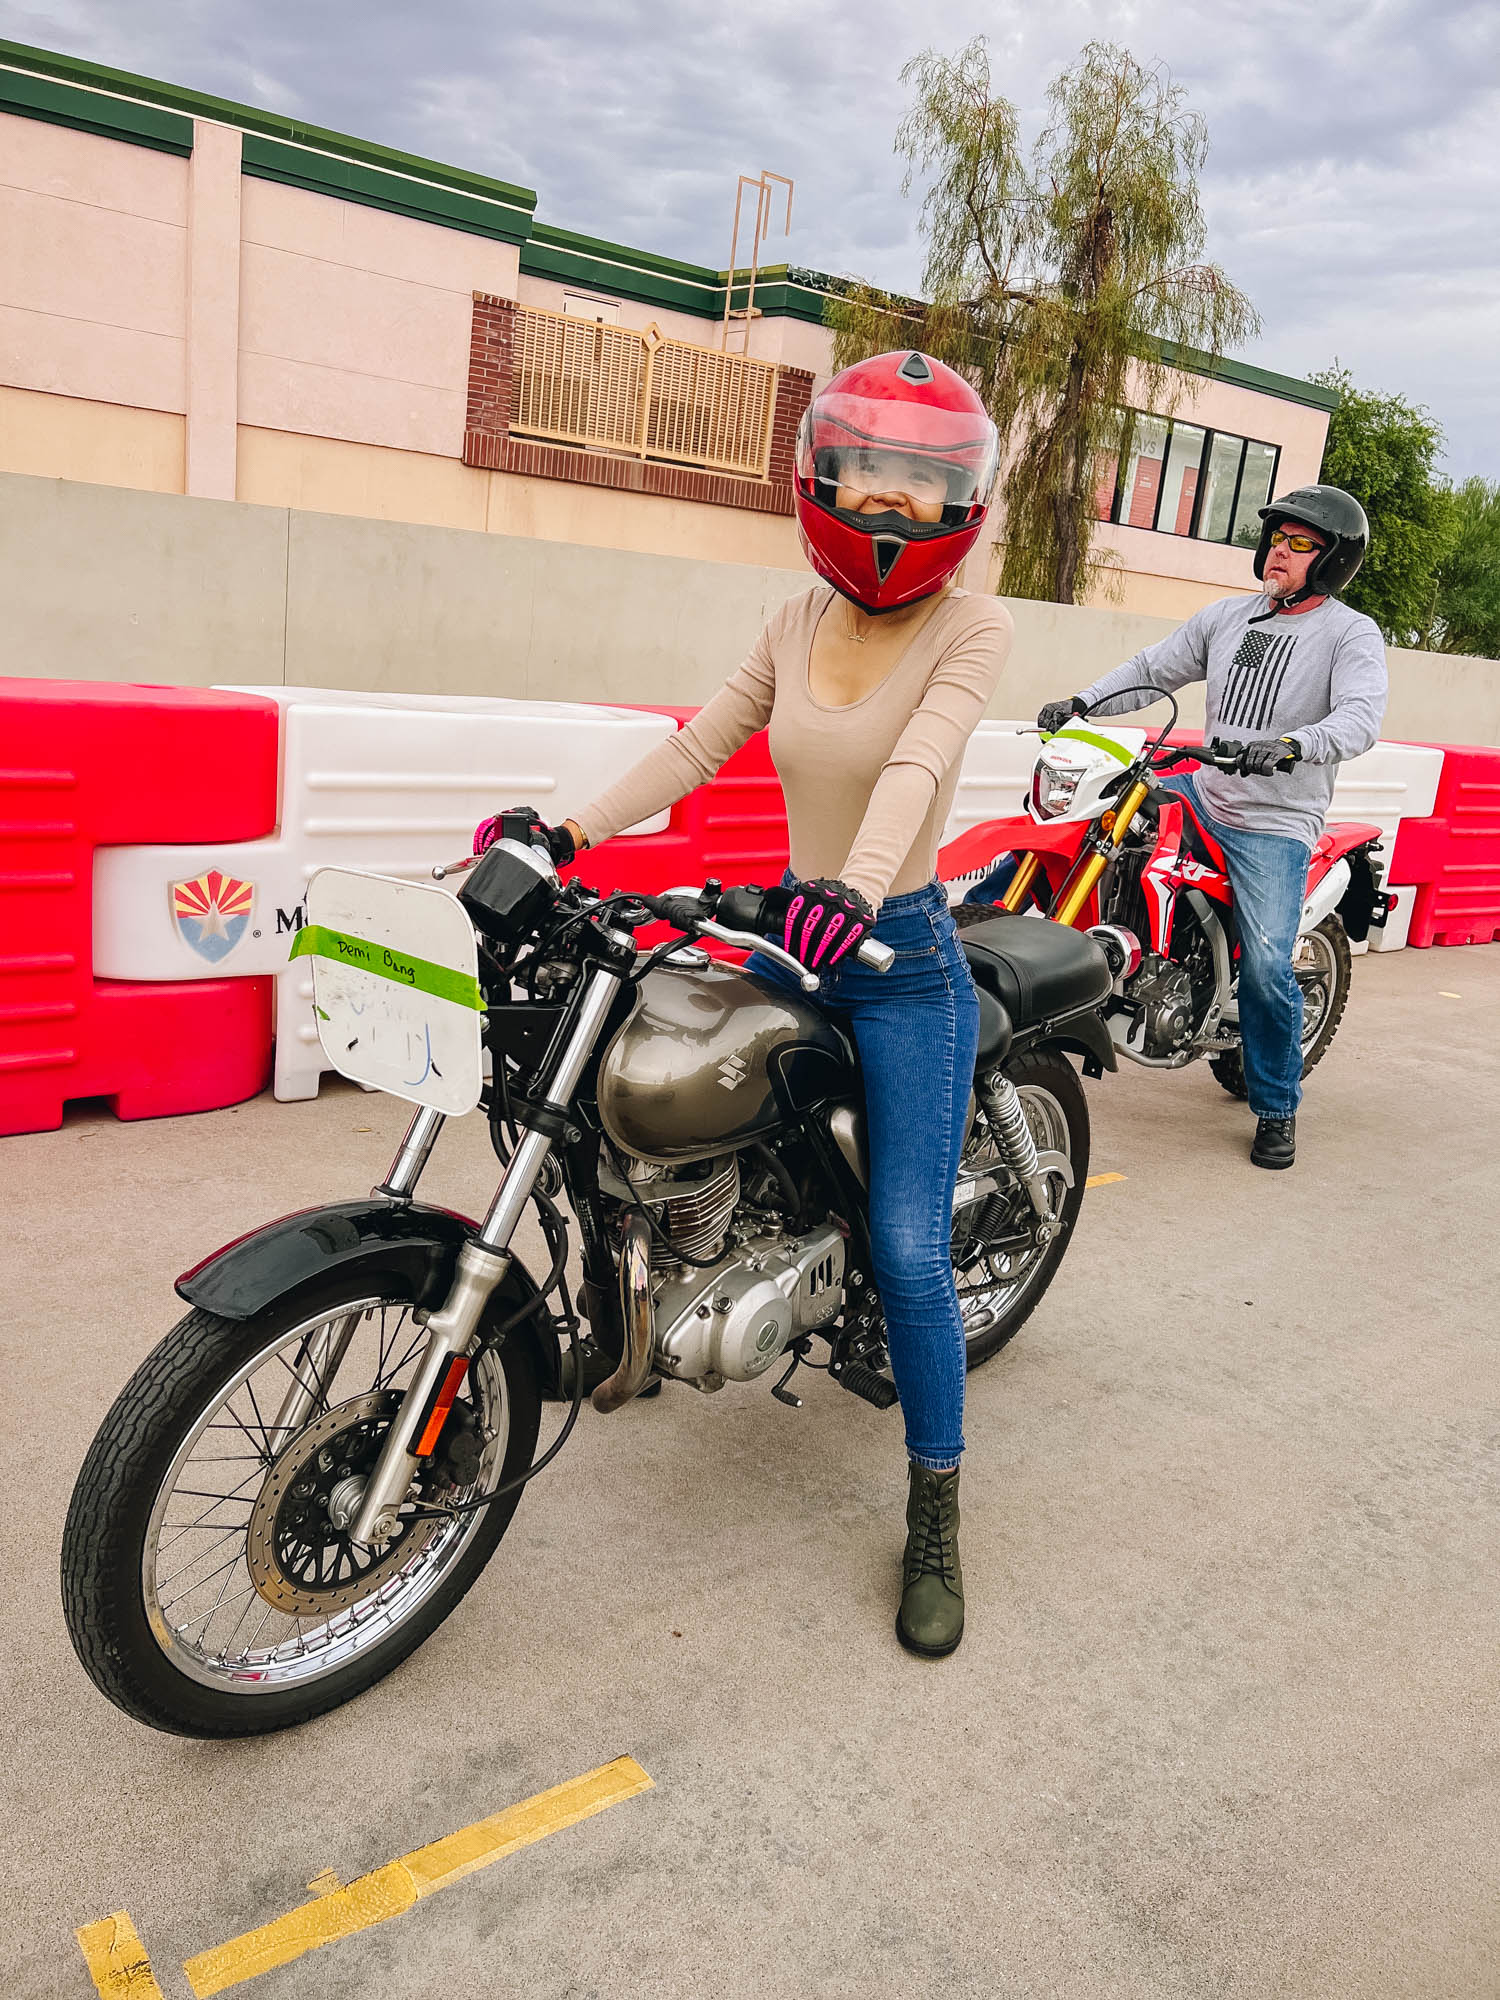
Taking the MSF Basic RiderCourse
Anyway, back to the topic of discussion – I took a Motorcycle Safety Foundation (MSF) Basic RiderCourse (BRC), aka a motorcycle class! I’ve been wanting to learn how to ride a motorcycle since 2018 but have never been able to pull the plug. My cousin Tony inspired me back then since he’s always doing cool things, like skateboarding, backpacking, surfing, etc. He’s truly an inspiration! He doesn’t read my blog, but in the ever so slight chance he does – hi, Tony!
Why I Wanted to Learn How to Ride a Motorcycle
4 years later, I’m finally pulling the plug. What sparked this was two things – one of my closest friends Mai Ly got a motorcycle and I was briefly seeing this guy who used to ride all the time. While the relationship was short-lived, he did reignite my adventurous side, so I have him to thank for that.
To give some background context, I’ve never been on a motorcycle before, unless you count being on the back of my dad’s small automatic scooter while my teenage brother rode around the neighborhood. I’ve also never sat on a motorcycle before – I’ve fallen so many times from a regular bicycle that the idea of straddling over a motorcycle scares me. On top of that, I’ve also never driven a manual car either, or do I know anything about shifting gears! I am pretty much as green as you can be when it comes to riding motorcycles.
Getting Your Motorcycle License through MSF Course
Getting your motorcycle license is very similar to getting your driver’s license! If you take the motorcycle course and pass the evaluation, then you’re automatically a licensed motorcyclist. You can skip the process of getting a permit and taking the test at the DMV. Of course, I’m in Arizona so you will have to double-check your state’s regulations.
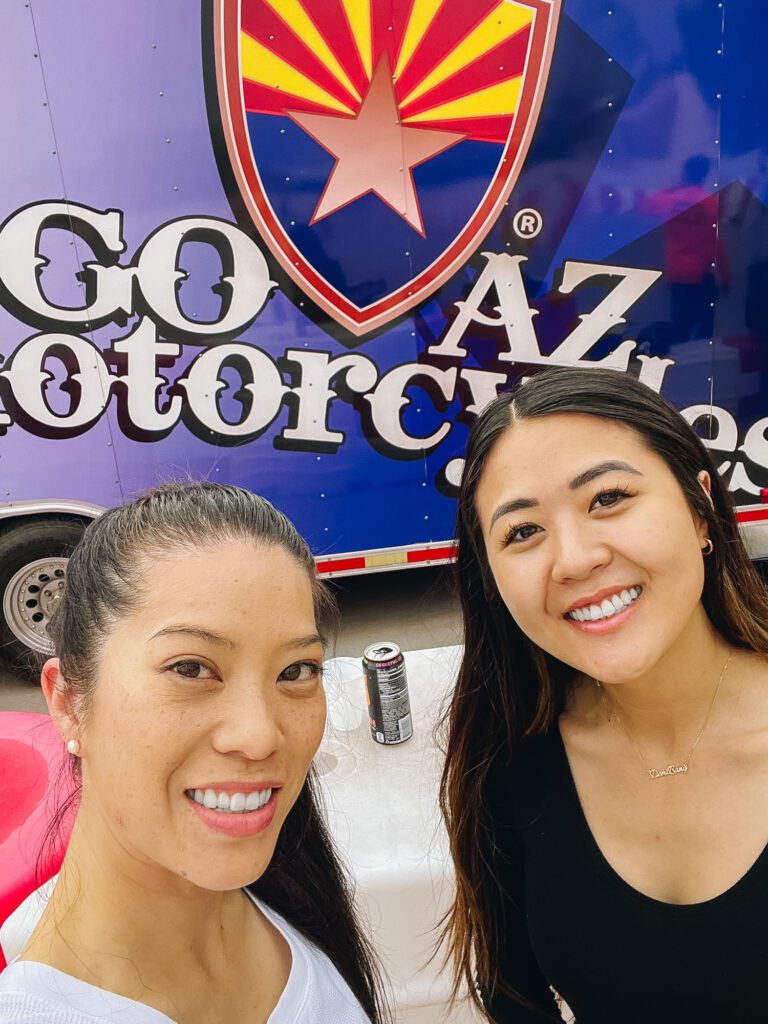
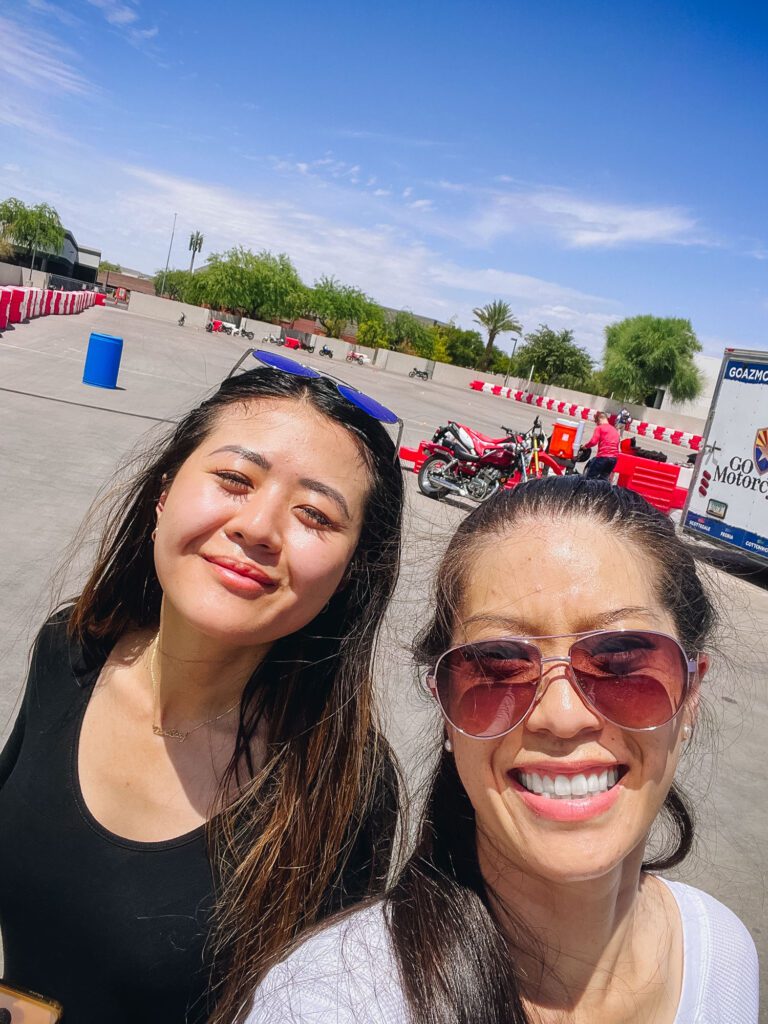
Mai Ly and I took the MSF course through TEAM Arizona. The course was broken up over 3 days. The first day was the knowledge portion where you learn the theory of riding a motorcycle. The second and third day was the skill-based portion, so being able to get hands-on with the vehicles and learn how to ride them!
Motorcycle Knowledge Test
We decided to take the theoretical portion online, and it was a pretty long class. The class took around 5 hours. Towards the end of the class, I was getting really antsy since it was so long. It would be nice if there was an option to independently study and take the theoretical test whenever you’re ready.
Throughout each chapter, the instructor would question us on the materials. After going through the entire handbook, you then take the motorcycle knowledge test. I passed the exam with 23 out of 25 questions correct!

Motorcycle Skill-Based Test
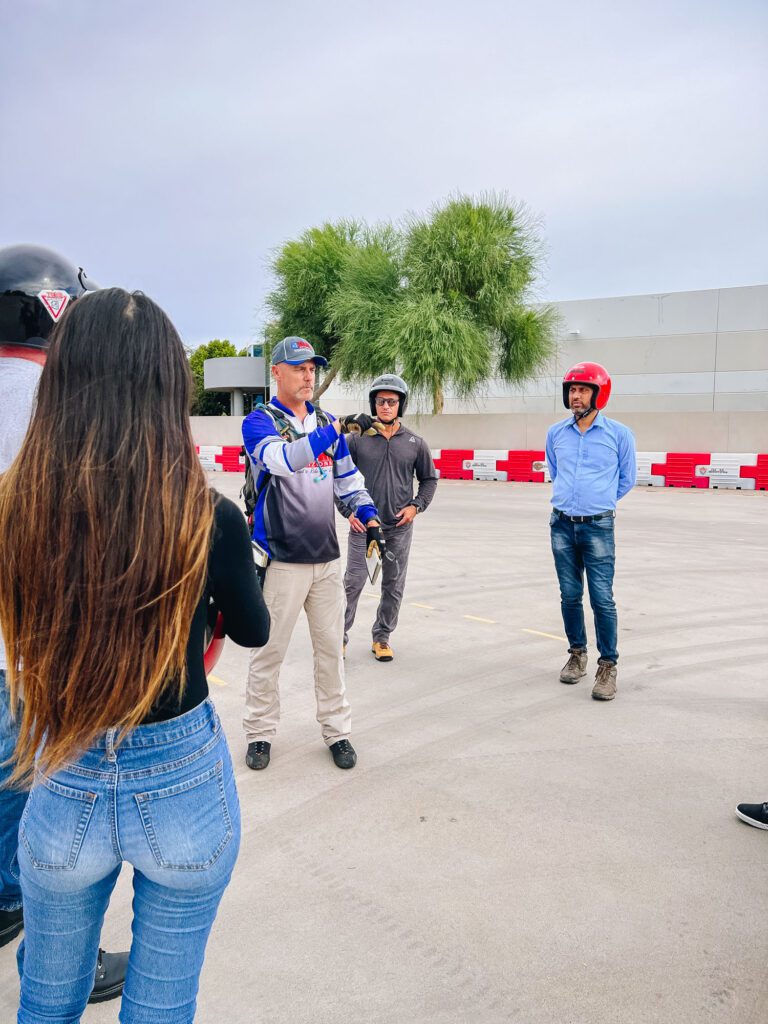
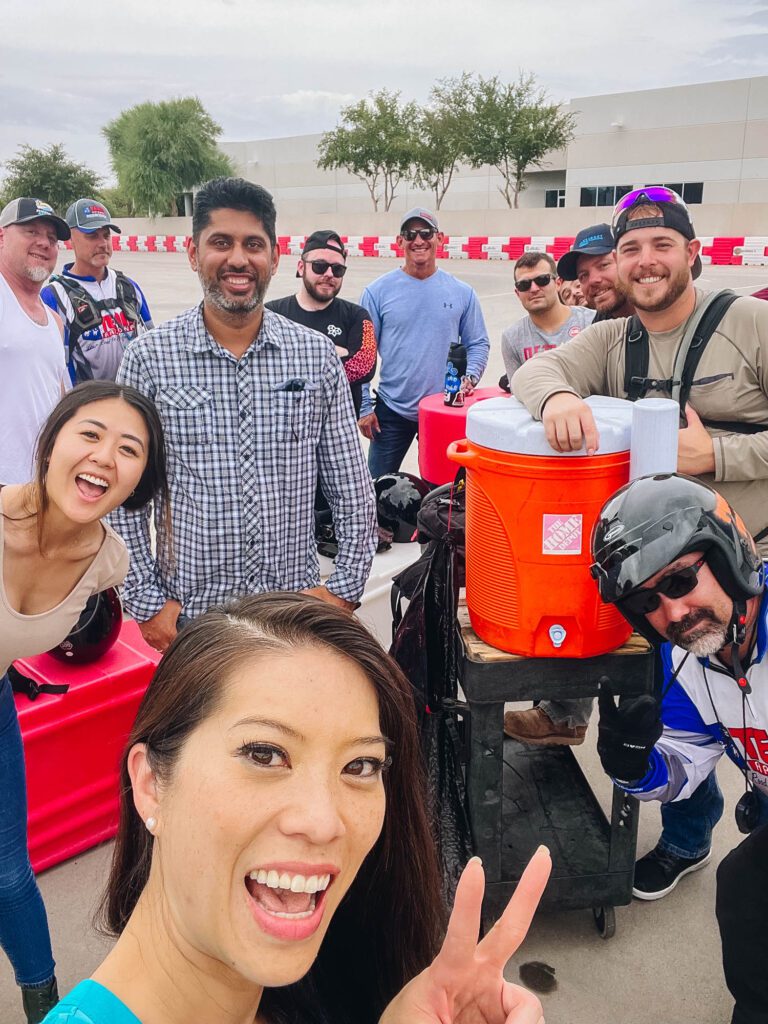
The next section of the course was the actual riding! This was my favorite part since I’m more of a visual and hands-on learner. We woke up before the crack of dawn since class started at 6 am. We had two instructors and a total of 11 students including me! You don’t need a motorcycle in order to take the MSF course. In fact, they don’t allow you to use your own bike. We all got to choose a bike from their selection and practiced on the same bike for both days of the course.
Throughout the 2-day course, you go through 14 different exercises – 8 exercises on the first day and 6 on the second day. Here is the list of the 14 exercises we went through that I found on the MSF website:
- Motorcycle Familiarization
- Using the Friction Zone
- Starting & Stopping Drill
- Shifting & Stopping
- Basic Skill Practice
- Pressing to Initiate and Adjust Lean
- Stopping More Quickly & Tight Turns from a Stop
- Stopping Distance Demonstration
- Limited-Space Maneuvers
- Stopping in a Curve
- Curve Judgment
- Multiple Curves & Lane Changes
- Crossing an Obstacle & Swerving
- Skill Practice
Day 1 of the MSF Basic RiderCourse
On the first day of the motorcycle course, you learn the anatomy of a motorcycle – where to locate the fuel valve, engine cut-off switch, throttle, front and rear brake, clutch, etc. We also learned about the basics of riding a motorcycle. This means, switching from neutral to first gear, using the clutch to manipulate the friction zone, getting power from the throttle, and switching to second gear for more speed!
The moment I sat on my motorcycle, I already felt so empowered.
I remember the instructor telling everyone to get on their bike and I panicked a bit! I looked around and I was the only one that was not touching their bike! So, I held in my breath, swung my right leg over the motorcycle, and felt so relieved that the motorcycle was a good height for me. At that moment, I felt like I can do anything! When you’re on the bike, you want to make sure you’re not on your tippy toes, because that’s an indicator that the motorcycle is too tall for you.
For me, I struggled the most with releasing the clutch too fast when you’re in first gear. If you release the clutch too quickly, the motorcycle will stall, and you’ll have to turn the engine back on. This can be problematic especially if you’re at a traffic light and you release the clutch too fast.
Another thing I struggled with was shifting back to first gear when stopping. I find that there’s a lot going on that I need to do when coming to a stop – pulling in the clutch, pulling in the front brake, and shifting down to the first gear. If you don’t shift back to first gear before coming to be complete stop, you can stall your engine!
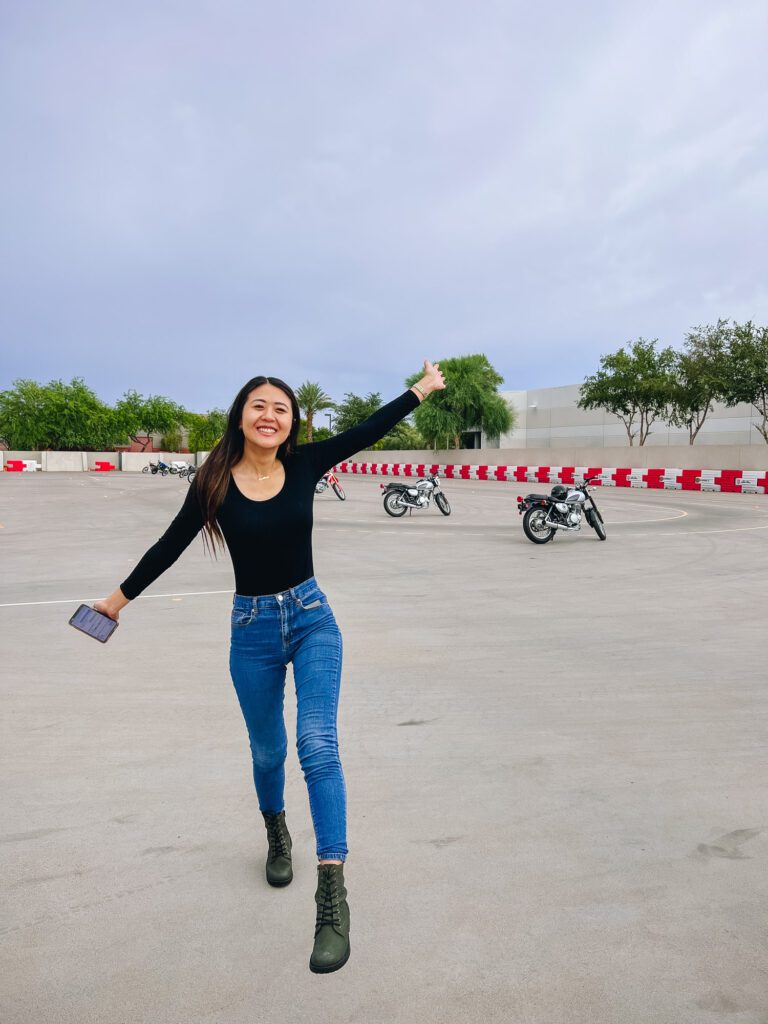
Despite having a difficult time with some parts of riding the bike, I had a lot of fun! I love looping around the range and it was so much fun going fast!
Day 2 of the MSF Basic RiderCourse
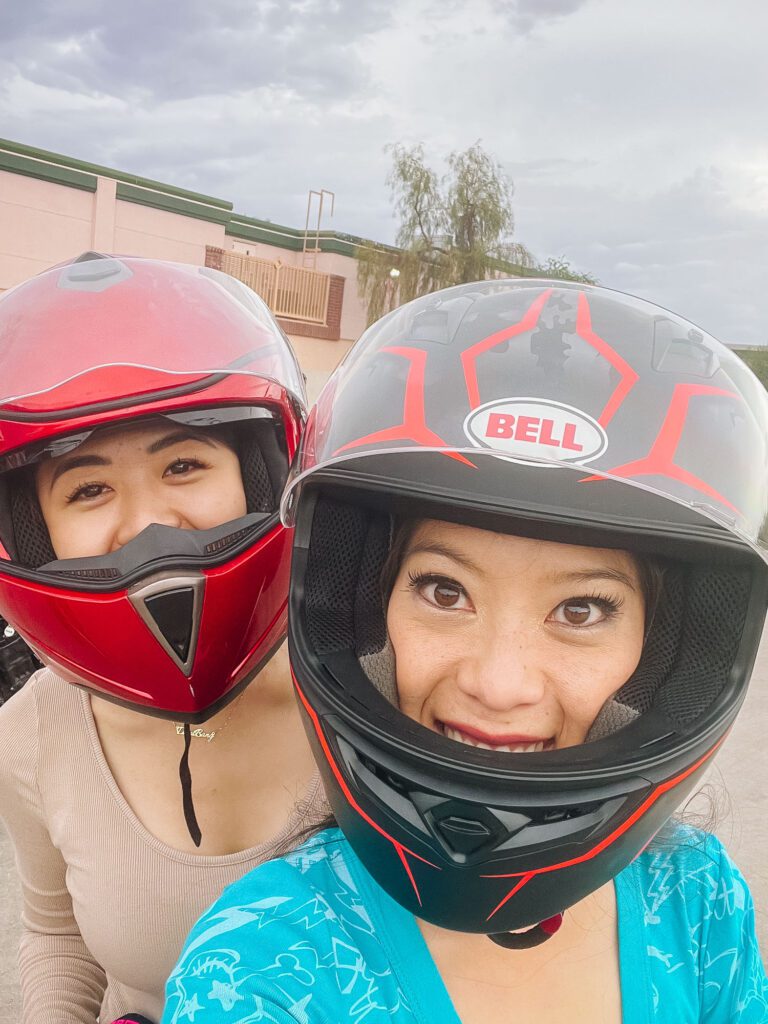
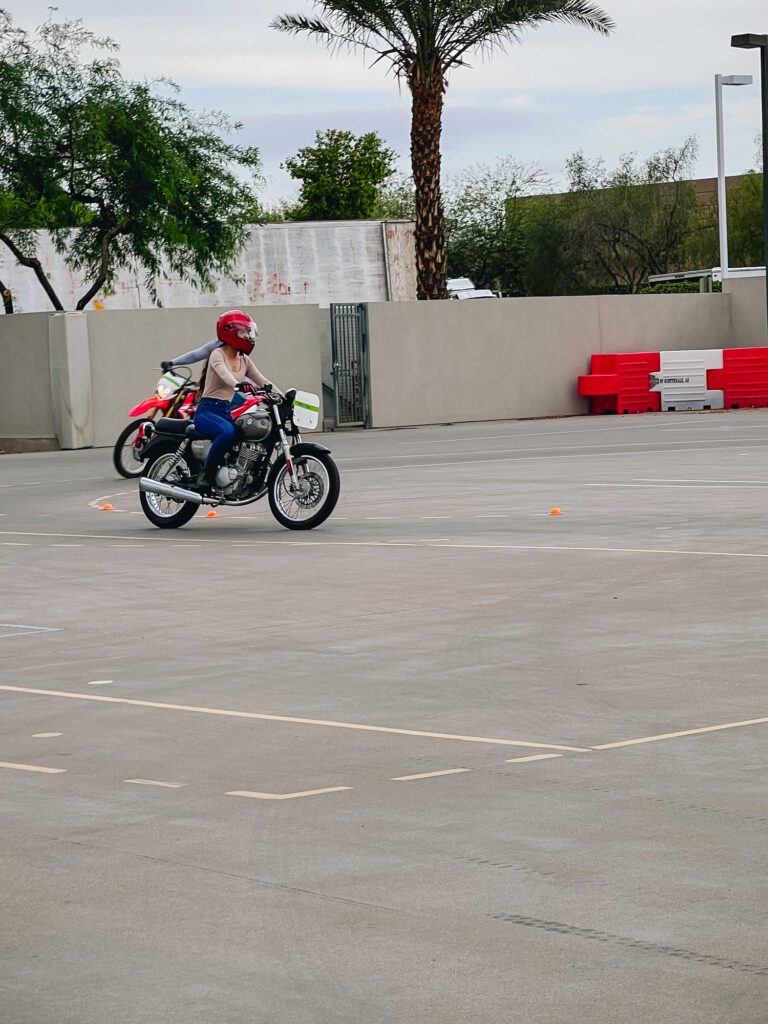
On the second day, we learned about going over objects and maneuvering through obstacles. The exercises we did felt more like real-life scenarios, except on a smaller scale. We also learned how to make quick stops at a high speed and stops in a curve, which is really important since you always want to make sure the handles are squared when coming to a stop. Having it tilted can cause more weight on one side and it’ll be harder to control your bike.
Another thing we learned was making sharp turns at a higher speed. I had a lot of trouble when it came to any of the exercises that required us to go fast (anything above 10 mph is considered fast for me). While I did enjoy going fast on the first day, we were going fast in a relatively straight line with a little curve; whereas on the second day, there were a lot of turns and swerving we had to do.
How the Motorcycle Course Test is Set Up
After completing all 14 exercises, it was time for the skill-based test. Luckily the last exercise is a prep for the test. How the evaluation is graded, you get points for every mistake you make. In other words, you want lower points! The more points you accumulate, the lower your chances of passing. There are 5 sections to the test.
Section 1: Cone Weave and Normal Stop
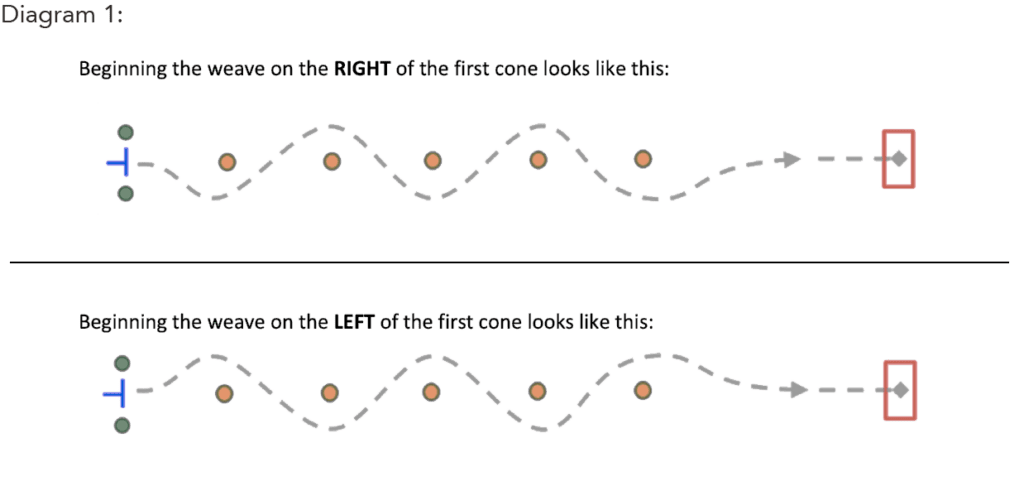
The first section of the motorcycle test was the cone weave and normal stop. There are 5 cones placed and the instructor will let you know to weave either left or right of the first cone. Once you go through the weave, you’re then asked to stop inside the box. The purpose of this is to show basic motorcycle operations and handling skills.
During this portion, I did the cone weaving and normal stopping perfectly! I did not receive any points for this.
Section 2: Turn from a Stop and Making a U-Turn
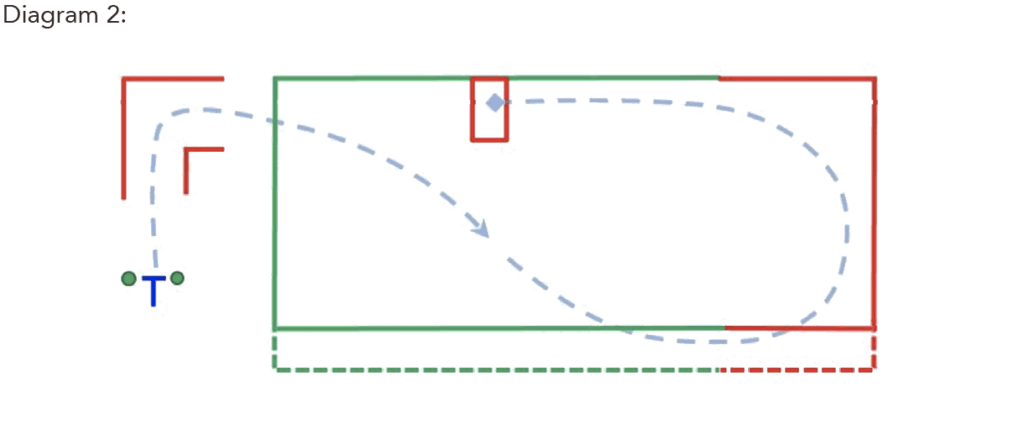
The second section of the motorcycle test was the turn from a stop and making a U-turn. You have to make a 90-degree angle turn to the right from a stop. Once you make the turn, you’ll then have to make a U-turn within the parameters. This is to show that you can stay in your lane when making a U-turn.
For this portion, I did the right turn pretty well, but when it came to making the U-turn, I went outside the parameters, so I received 5 points for the U-turn.
Section 3: Obstacle Swerve
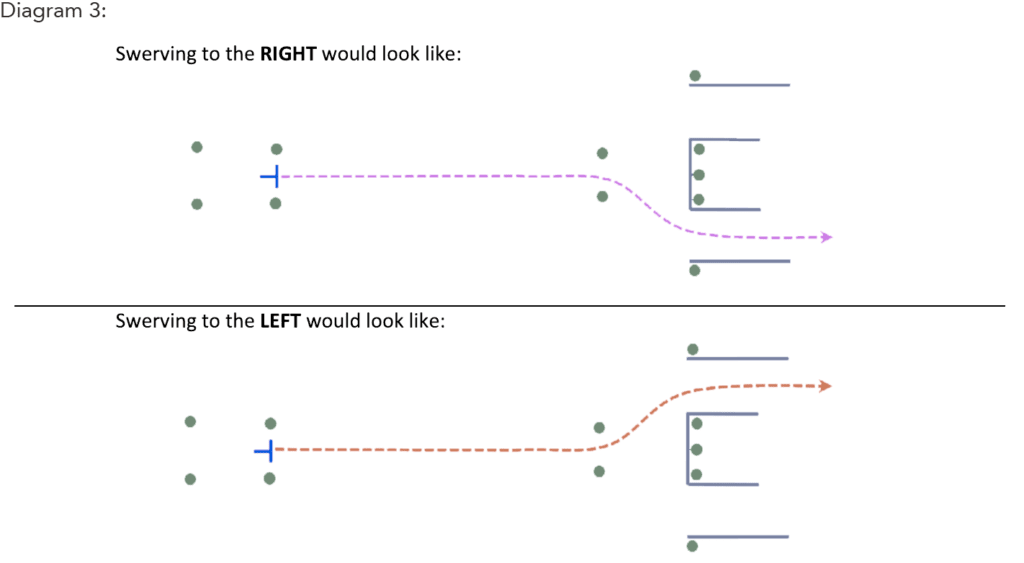
The third section of the motorcycle test was the obstacle swerve. This section requires you to go up to 12-18 mph and to swerve in a quick manner. The purpose of this is to show your ability to avoid a hazard by swerving.
During this portion, you’re able to do one re-run if you’re not fast enough. Unfortunately for me, during my first and second run-through, I was not able to go above ~8 mph. I failed this part of the test with 5 points.
Section 4: Quick Stop
The fourth section of the motorcycle test was the quick stop. Similar to the previous section, this also requires you to go up to 12-18 mph. The purpose of this is to show your ability to avoid a hazard by quickly stopping.
Similar to the third section, you’re also given one re-run if you’re not fast enough. Unfortunately for me again, during my first and second run-through, I was not able to get up to 12-18 mph. I also failed this portion with 5 points.

Section 5: Cornering
The last section of the motorcycle test was the cornering. You’re asked to drive in one loop up to 20 mph. The purpose of this portion is to show your ability to ride smoothly through curves.
I found this part of the test to be the least difficult since we’re going in a loop, however, again, I was not able to go fast enough. I stayed in first gear for this section because I was too hesitant to switch to second gear. Since I wasn’t able to get up to 20 mph, I did receive 5 points for this portion.
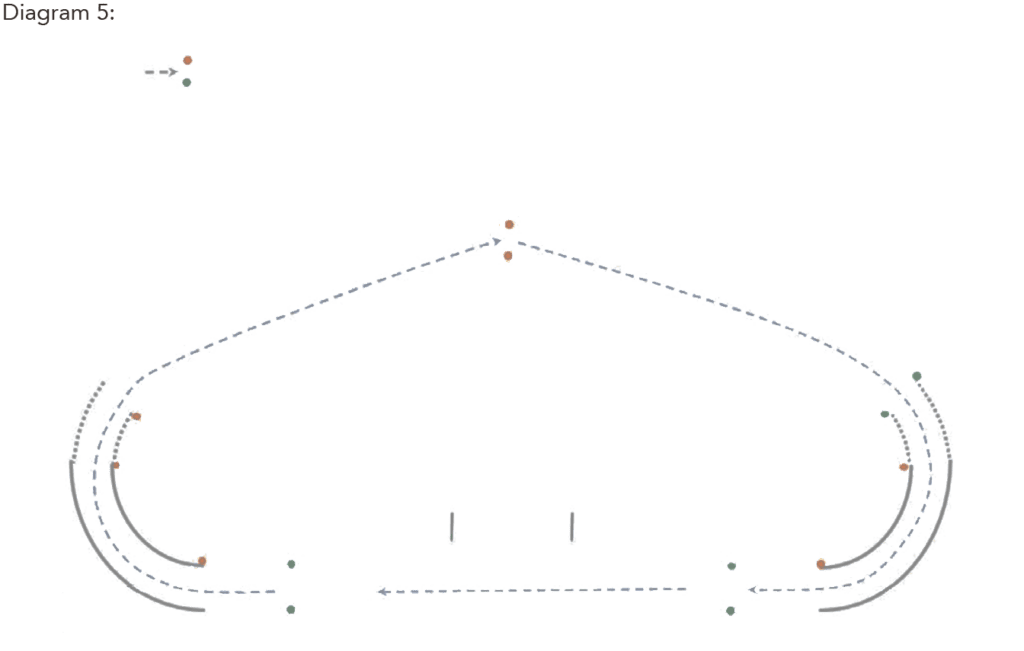
All diagrams have been taken from the Washington State Department of Licensing Skills Test Instructions, which you can read more in-depth to learn how the sections are set up as well as the scoring system. Even though the document is from the state of Washington, the materials seem to be the same for Arizona.
How the MSF Test is Scored
Based on the skill test instructions, the first two sections are lumped together and if you get 11 points or more, you automatically fail regardless of the last three sections. From there, you take the total score of the first two sections and add it to the remaining three sections. If the total score is 15 points or less, then you pass! However, if the total score is 16 points or more, then you fail.
If you were keeping track of my score, my points ended up being a total of 20 points, which means I failed.
Failing the Motorcycle Course
If you fail the MSF course, you’re allowed to do one retake test for no additional charge. If you fail the retake, there are also additional options, such as taking private 1-on-1 lessons with another retake test.
I was a bit upset when my instructor told me that I failed the MSF course. I may or may not have teared up a bit too, but he walked me through where I fell short on and what I need to practice. Being able to maneuver through obstacles and riding at a high speed is so important because most city streets are ~40 mph and highways are ~70 mph. If I’m unable to surpass 10 mph, then there’s no way I’d be able to survive out in the real world! A friend gave me some advice that it’s easy to ride fast on a straight road and requires little to no skill but knowing how to ride a bike at a crawling speed requires a lot of skill.
Despite being disappointed about failing, I am still proud of myself for now knowing how to ride a motorcycle (theoretically, of course, until I pass)!
I can’t wait to retake the exam and become a licensed motorcyclist. I will keep you updated when I pass my MSF retake!
Update: I Passed My MSF Retake Course!
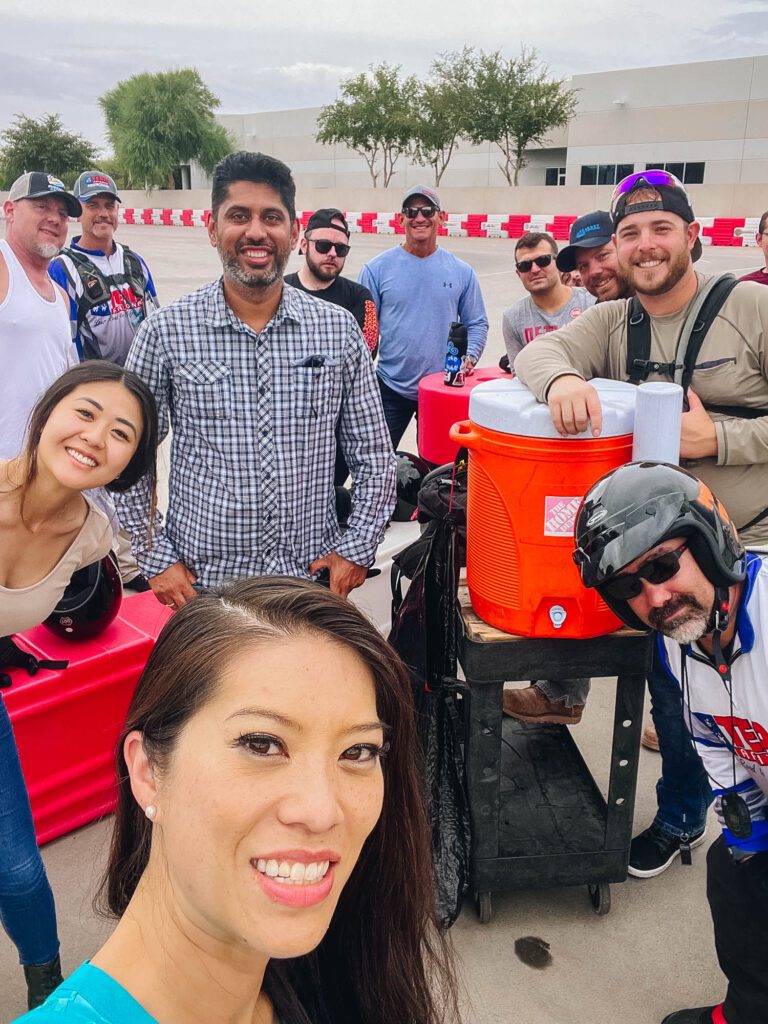
After failing my MSF course, I felt really discouraged. My instructor Jon said that it’s extremely rare for people to fail the retake since you’re given about 1.5 hours of practice before the retake. Even then, I still felt like I was going to defy the odds and fail again.
Mai Ly helped keep my spirits up by letting me practice on her bike, but after one practice session, we realized that maybe it might be counterproductive. Originally, I was going to take the retake in 3 weeks and practice on her bike within that time frame, but after thinking it through, the materials were still fresh in my mind. The longer we wait to take the retake, the riskier it was going to be for me to remember. Even though I would still be riding, her bike is very different than the ones we were given in class.
I decided to schedule my retake three days later after my initial test. You take the retake with other people who have failed as well, so it was really nice to have people in a similar situation with you. My retake had two other students, so it was a 3:1 student-teacher ratio.
During the retake, you can let your instructor know which parts you had trouble with. Jim, my instructor for the retake, was super helpful and gave me a lot of advice on how to increase speed. My bike for the retake was different than the one in the course. For the course, my bike was a Suzuki but for the retake, my bike was a Honda Rebel. It took me a while to get familiarized with the bike.
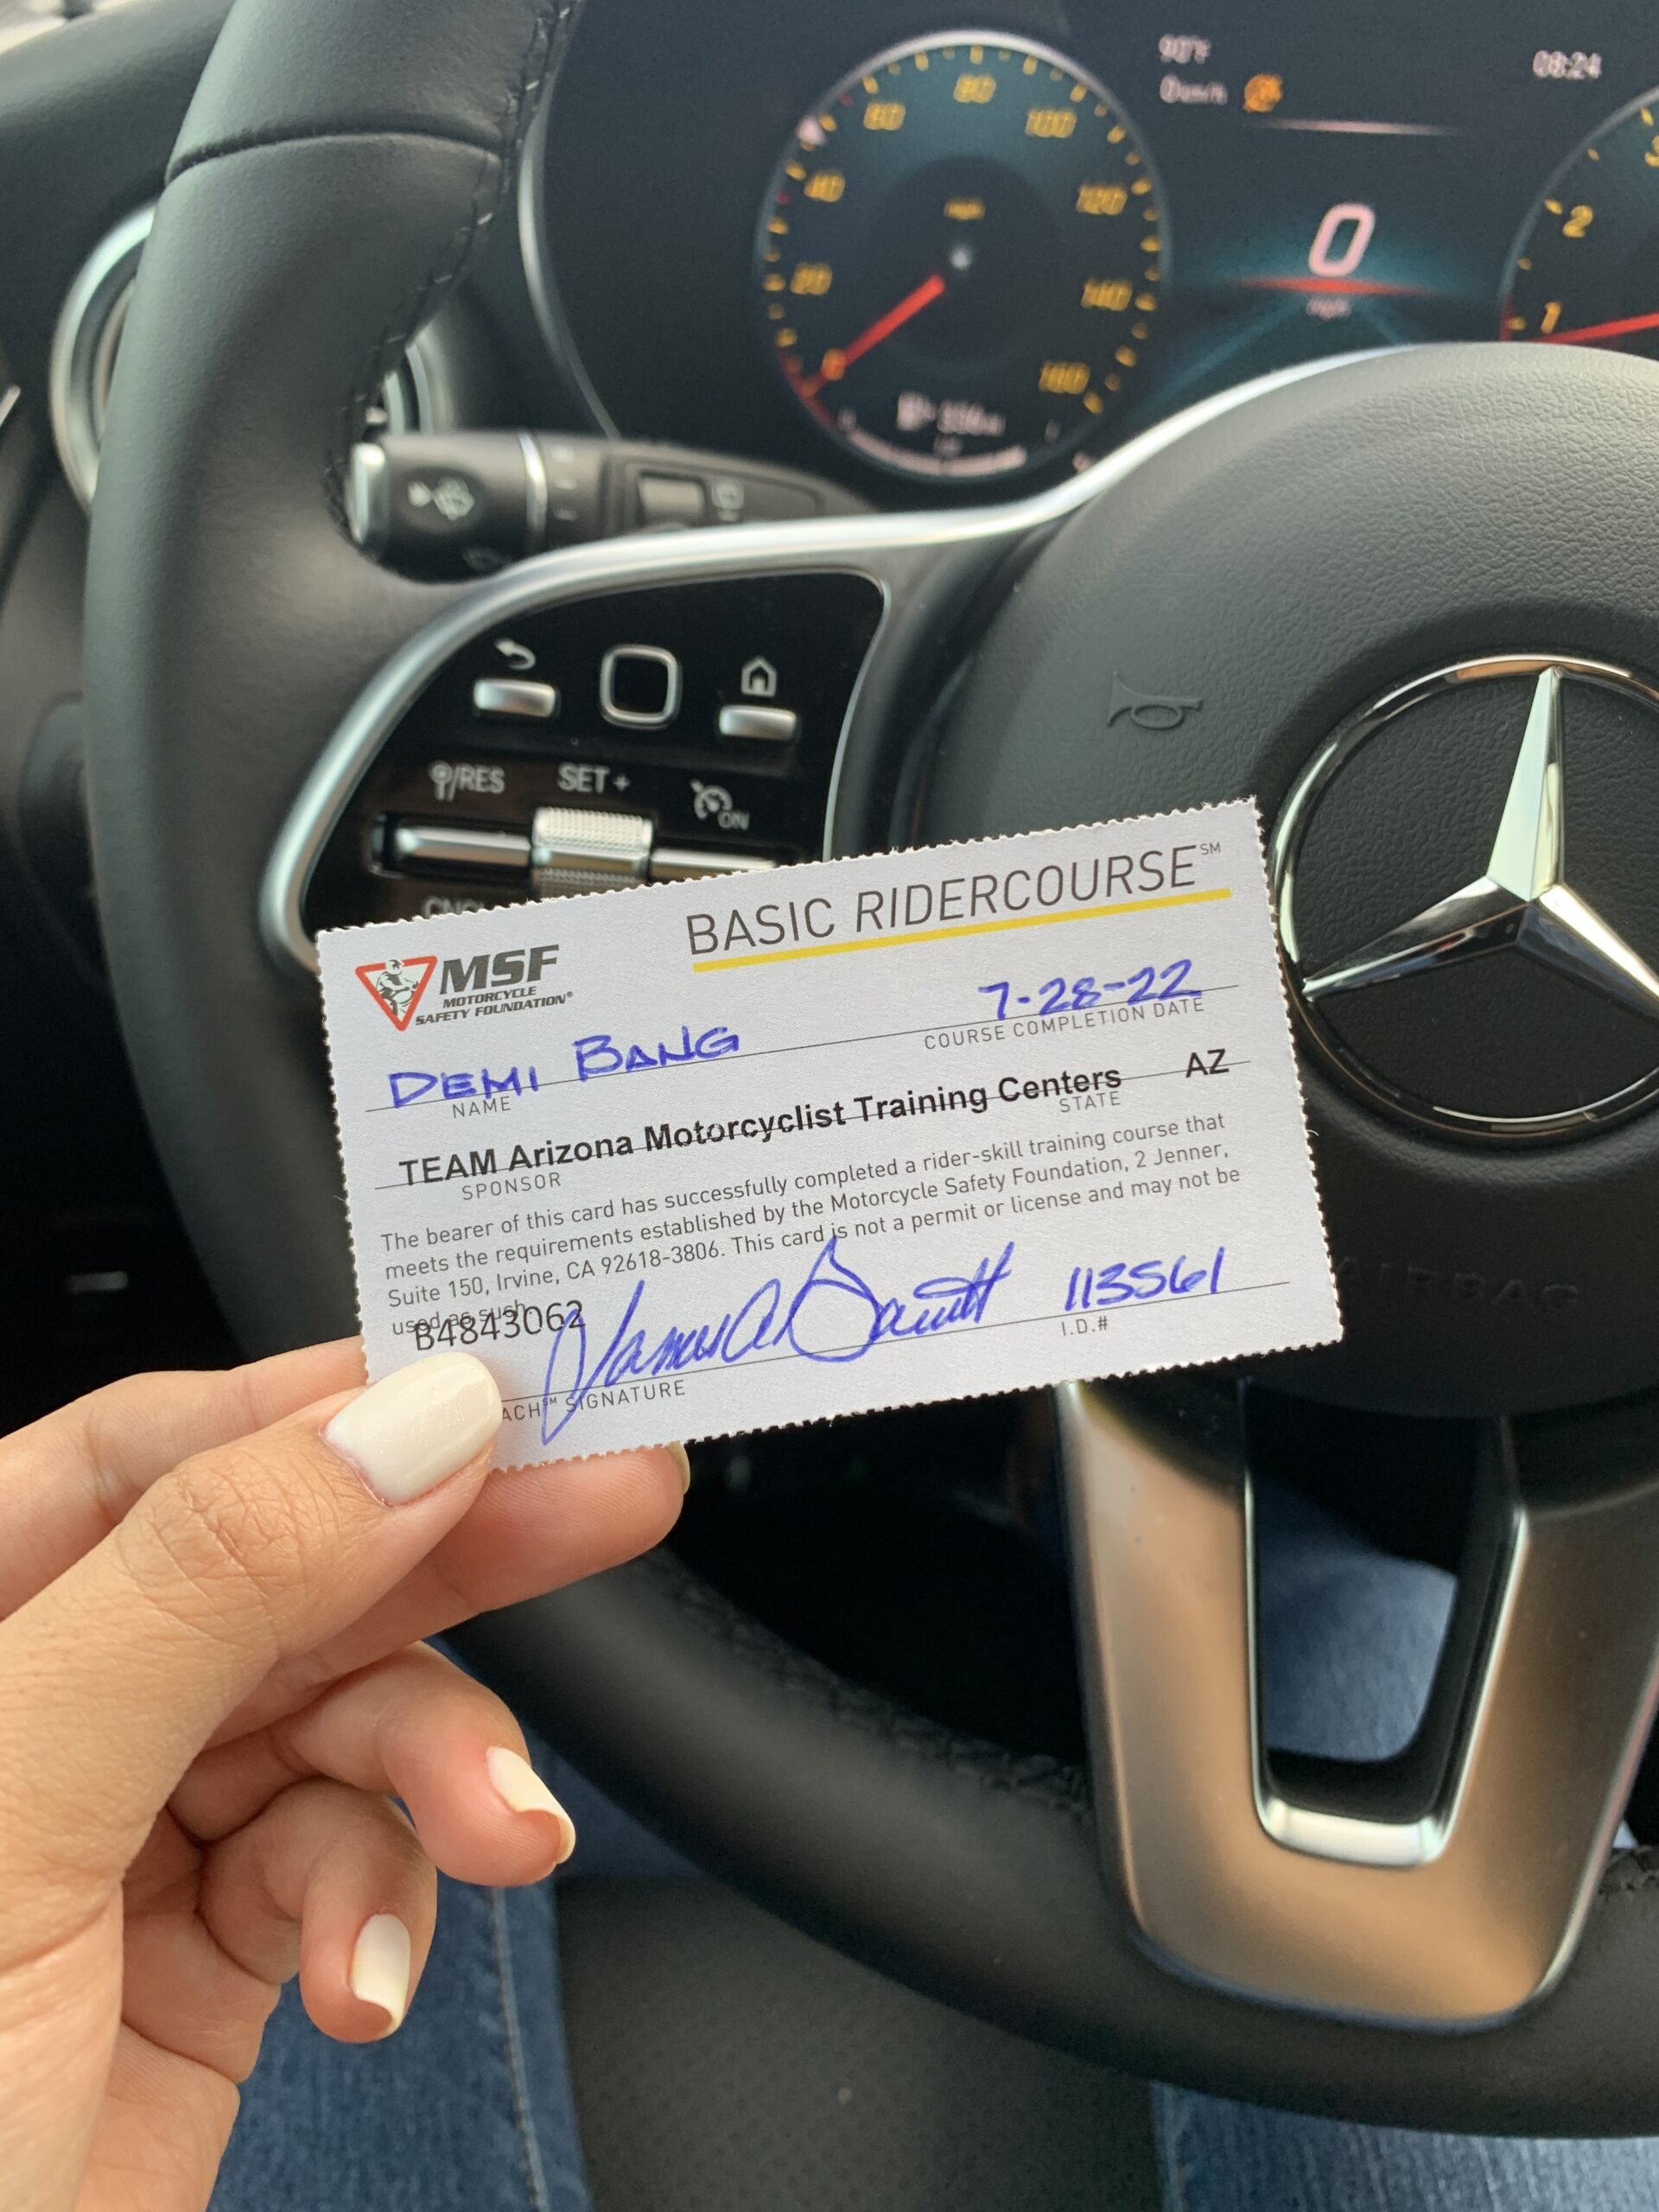
I passed my MSF retake with 13 points!
After practicing the drills, we had our retake test! Jim likes to call it a “celebration” rather than a test. He made the retake super fun and very enjoyable. I passed the retake with 13 points! I received 3 points in the first section for the cone weaving since I ran over one of the cones with my back wheel. Then in the second section, I received 5 points for doing a U-turn outside of the parameters. Lastly, I received 5 points for not going up to 20 mph on the cornering.
While I barely passed my retake, I am still extremely happy. Watch out world – I’ll be on the streets soon!


















Leave a Reply