My friend Han and I spontaneously decided to take up woodworking – well, a very simplified version of woodworking. Since moving into my new apartment and looking at furniture, my creative mind started spinning and I figured what fun projects these would be! Consider this your DIY to a really simplified nightstand.
Building a Nightstand and Monitor Stand
I decided to build a nightstand and Han decided to build a monitor stand. I’ve been needing a nightstand for quite some time now and figured this would be a good starting point for my woodworking journey. The nightstand would be used to place my phone and a cup of water, so I don’t need it to be super sturdy in case the project goes south.
I watched a few YouTube videos on how to build a nightstand. Most of the tutorials seems pretty easy and even included adding drawer slides, but because we didn’t know how to use a drill (or knew anyone that has a drill), we mainly used wood glue to compile all the pieces together. For my first nightstand project, I wanted to keep it extremely simple.


DIY Nightstand Project
Before going to Home Depot, we did a sketch of the nightstand and monitor stand, so we knew how much wood we needed. If you purchase the wood from them, they can get it cut for you as well. I measured how high I wanted my nightstand to be (24 inches) and how long (12 inches).
Supplies we purchase for our woodworking project:
- Wood
- Gorilla Wood Glue
- 220-Grit Sanding Sponge
- Polyester Knit Paint Tray Kit
- Behr Ulta Scuff Defense Paint in White
The worker at Home Depot really helped us with this project. He recommended the grits of the sand sponge and the paint. I learned that there are different types of wood and obviously, the more durable and harder the wood is, the more expensive it is. Of course, I didn’t know that the wood I picked up would cost over $70 – at this point, it would have been a lot cheaper to buy a nightstand instead of making one, but the experience of building a nightstand was priceless!

The Process of Building a Nightstand
First, we sand down all the individual pieces and then use wood glue to glue them all together. My nightstand ended up being a little tilted, but it’s the imperfections that make it perfect, haha.
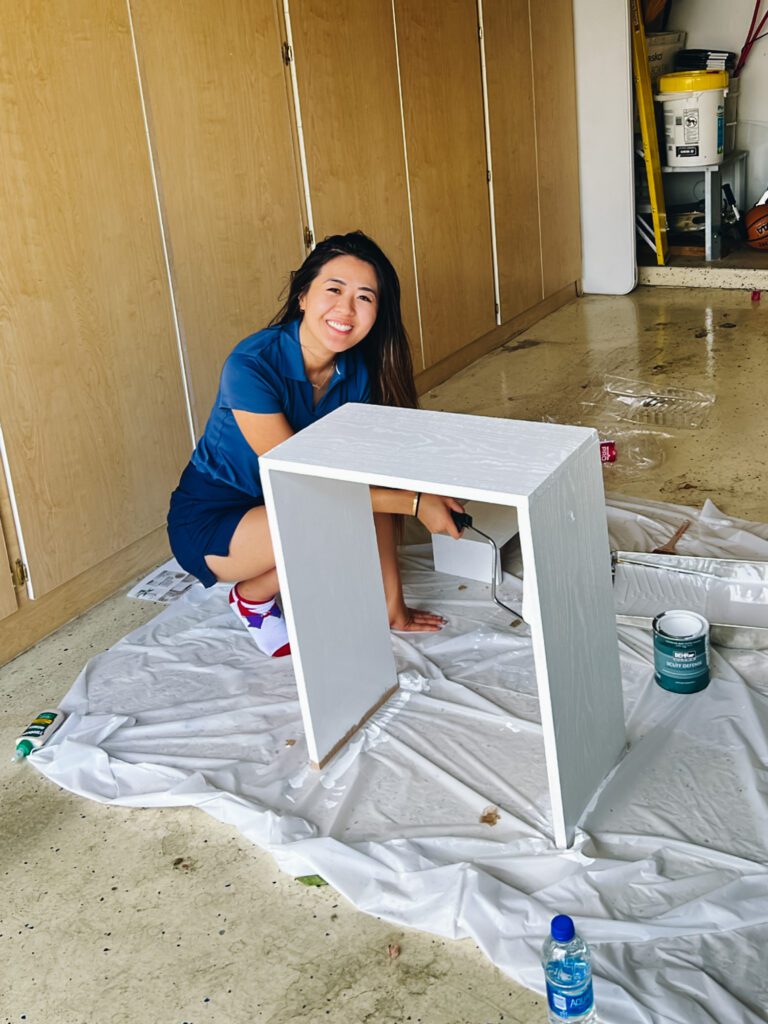
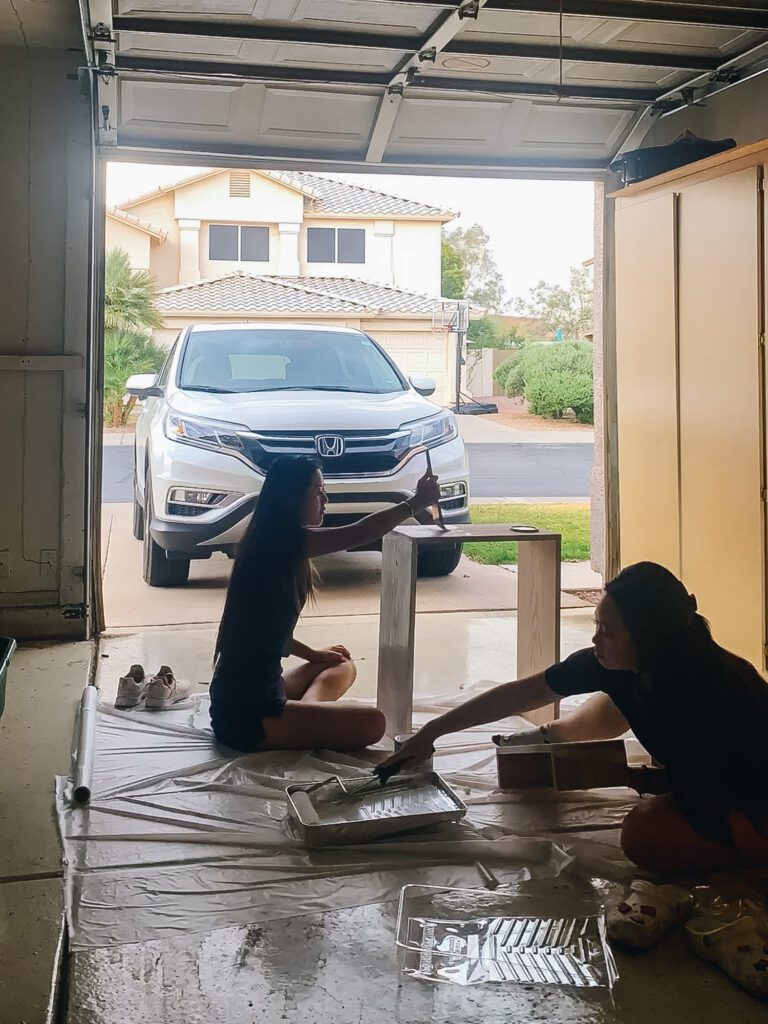
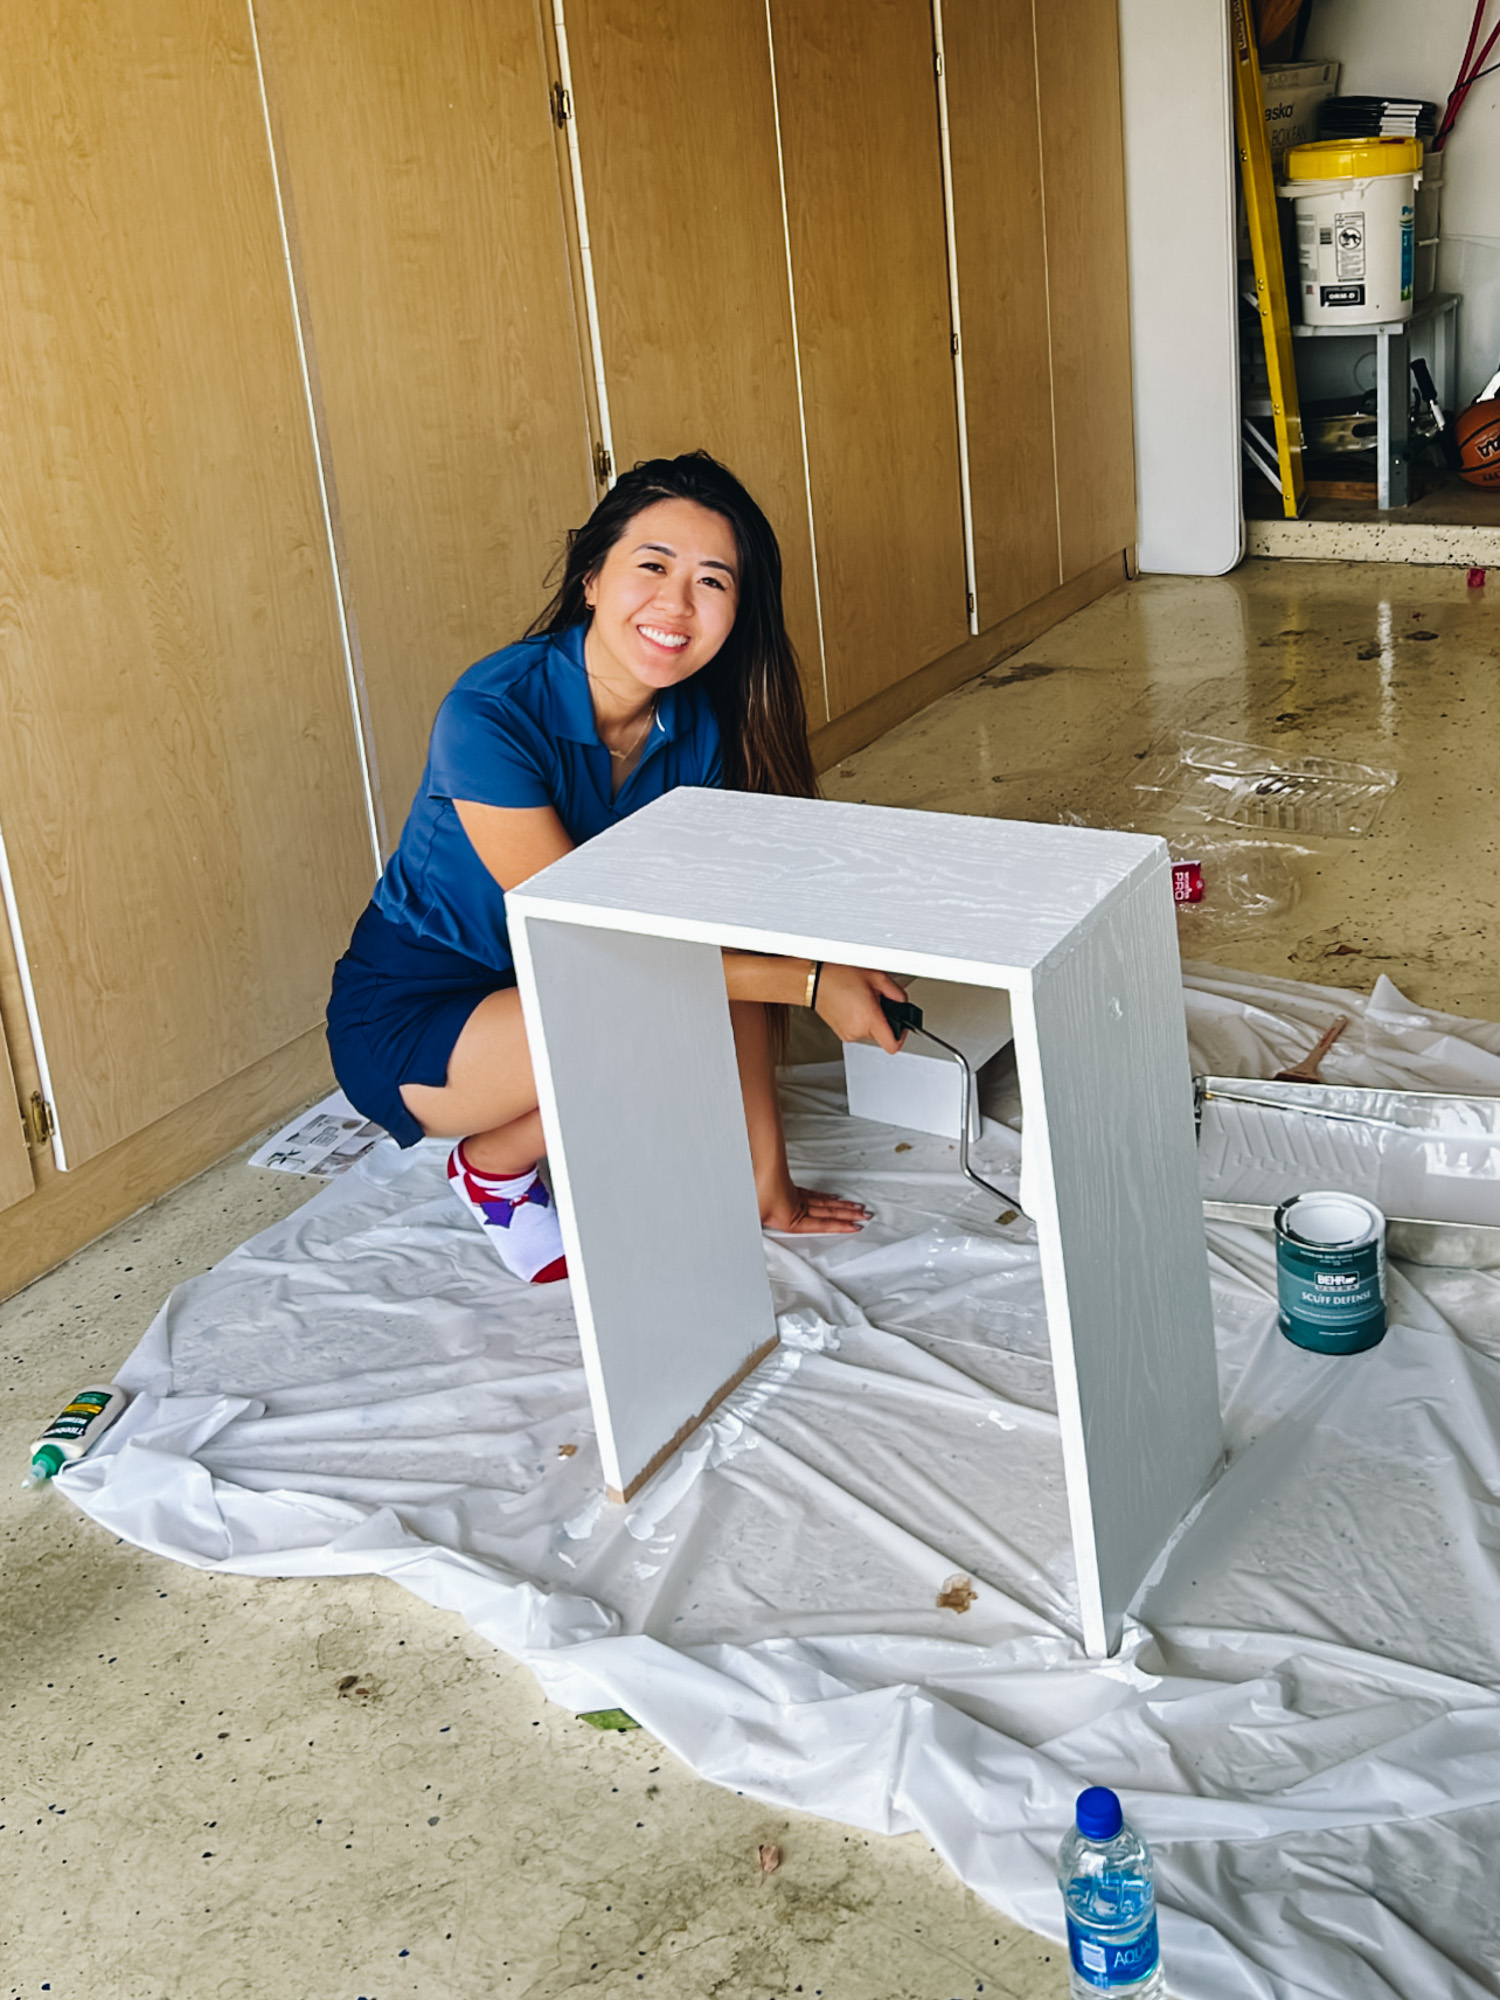
After we left it overnight to dry, we then painted one layer of white paint. To let it dry in between coats, Han and I decided to go watch Thor: Love and Thunder, haha. It was a great way to pass time while we waited for the first layer of paint to dry. Afterward, we painted our second coat and once that was dry, our masterpiece was complete!
The project was really fun, and I learned quite a lot about “woodworking”. Now my head is constantly spinning because I have several project ideas that I want to build for my new apartment. I’m thinking of maybe building a little bookshelf to store all my board games.
I’ll keep you updated on that!












Leave a Reply