I moved into my apartment back in June, and 3 months later, I’m still in the process of unpacking. Is anyone else like me? I have friends who will unpack within 48 hours of moving. Please tell me I’m not the only one!
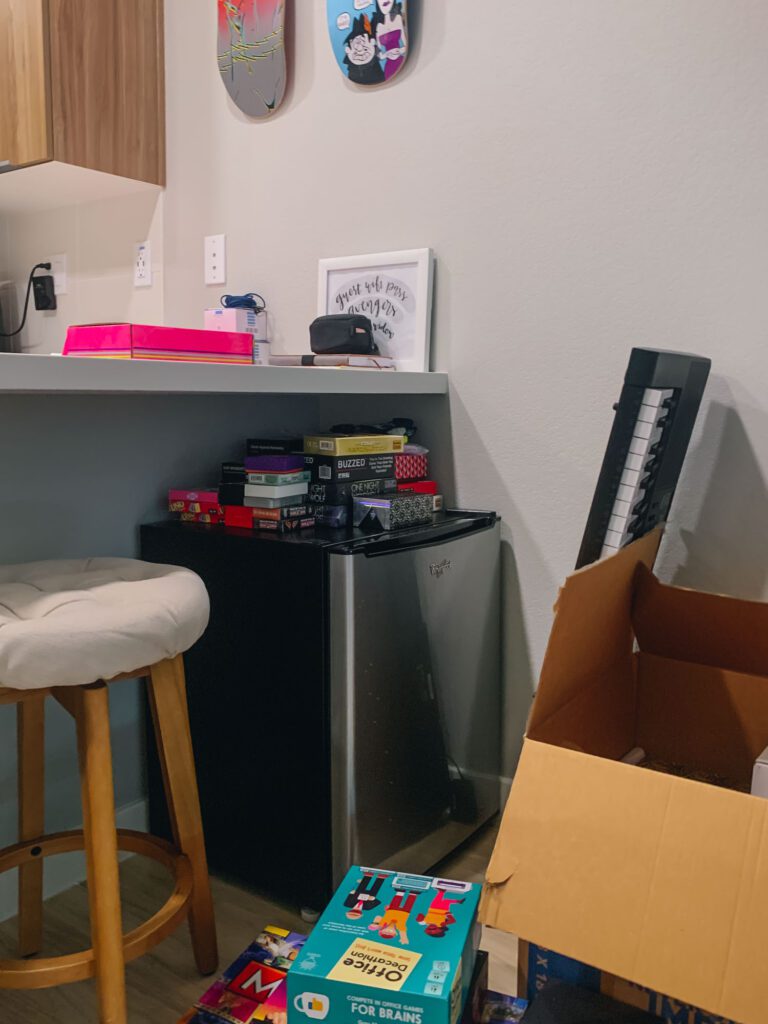
Since moving to my new apartment, all my board games have been stored in a cardboard box. I also haven’t hosted a game night in a while, which makes me a bit sad. That was one of my favorite things to do, but that’s just how life is. Some things are meant to be a phase in life. While I am sad that I don’t host monthly game nights anymore, I am very grateful for my one-on-one time with my girlfriends.

Building a Bookcase for My Board Games
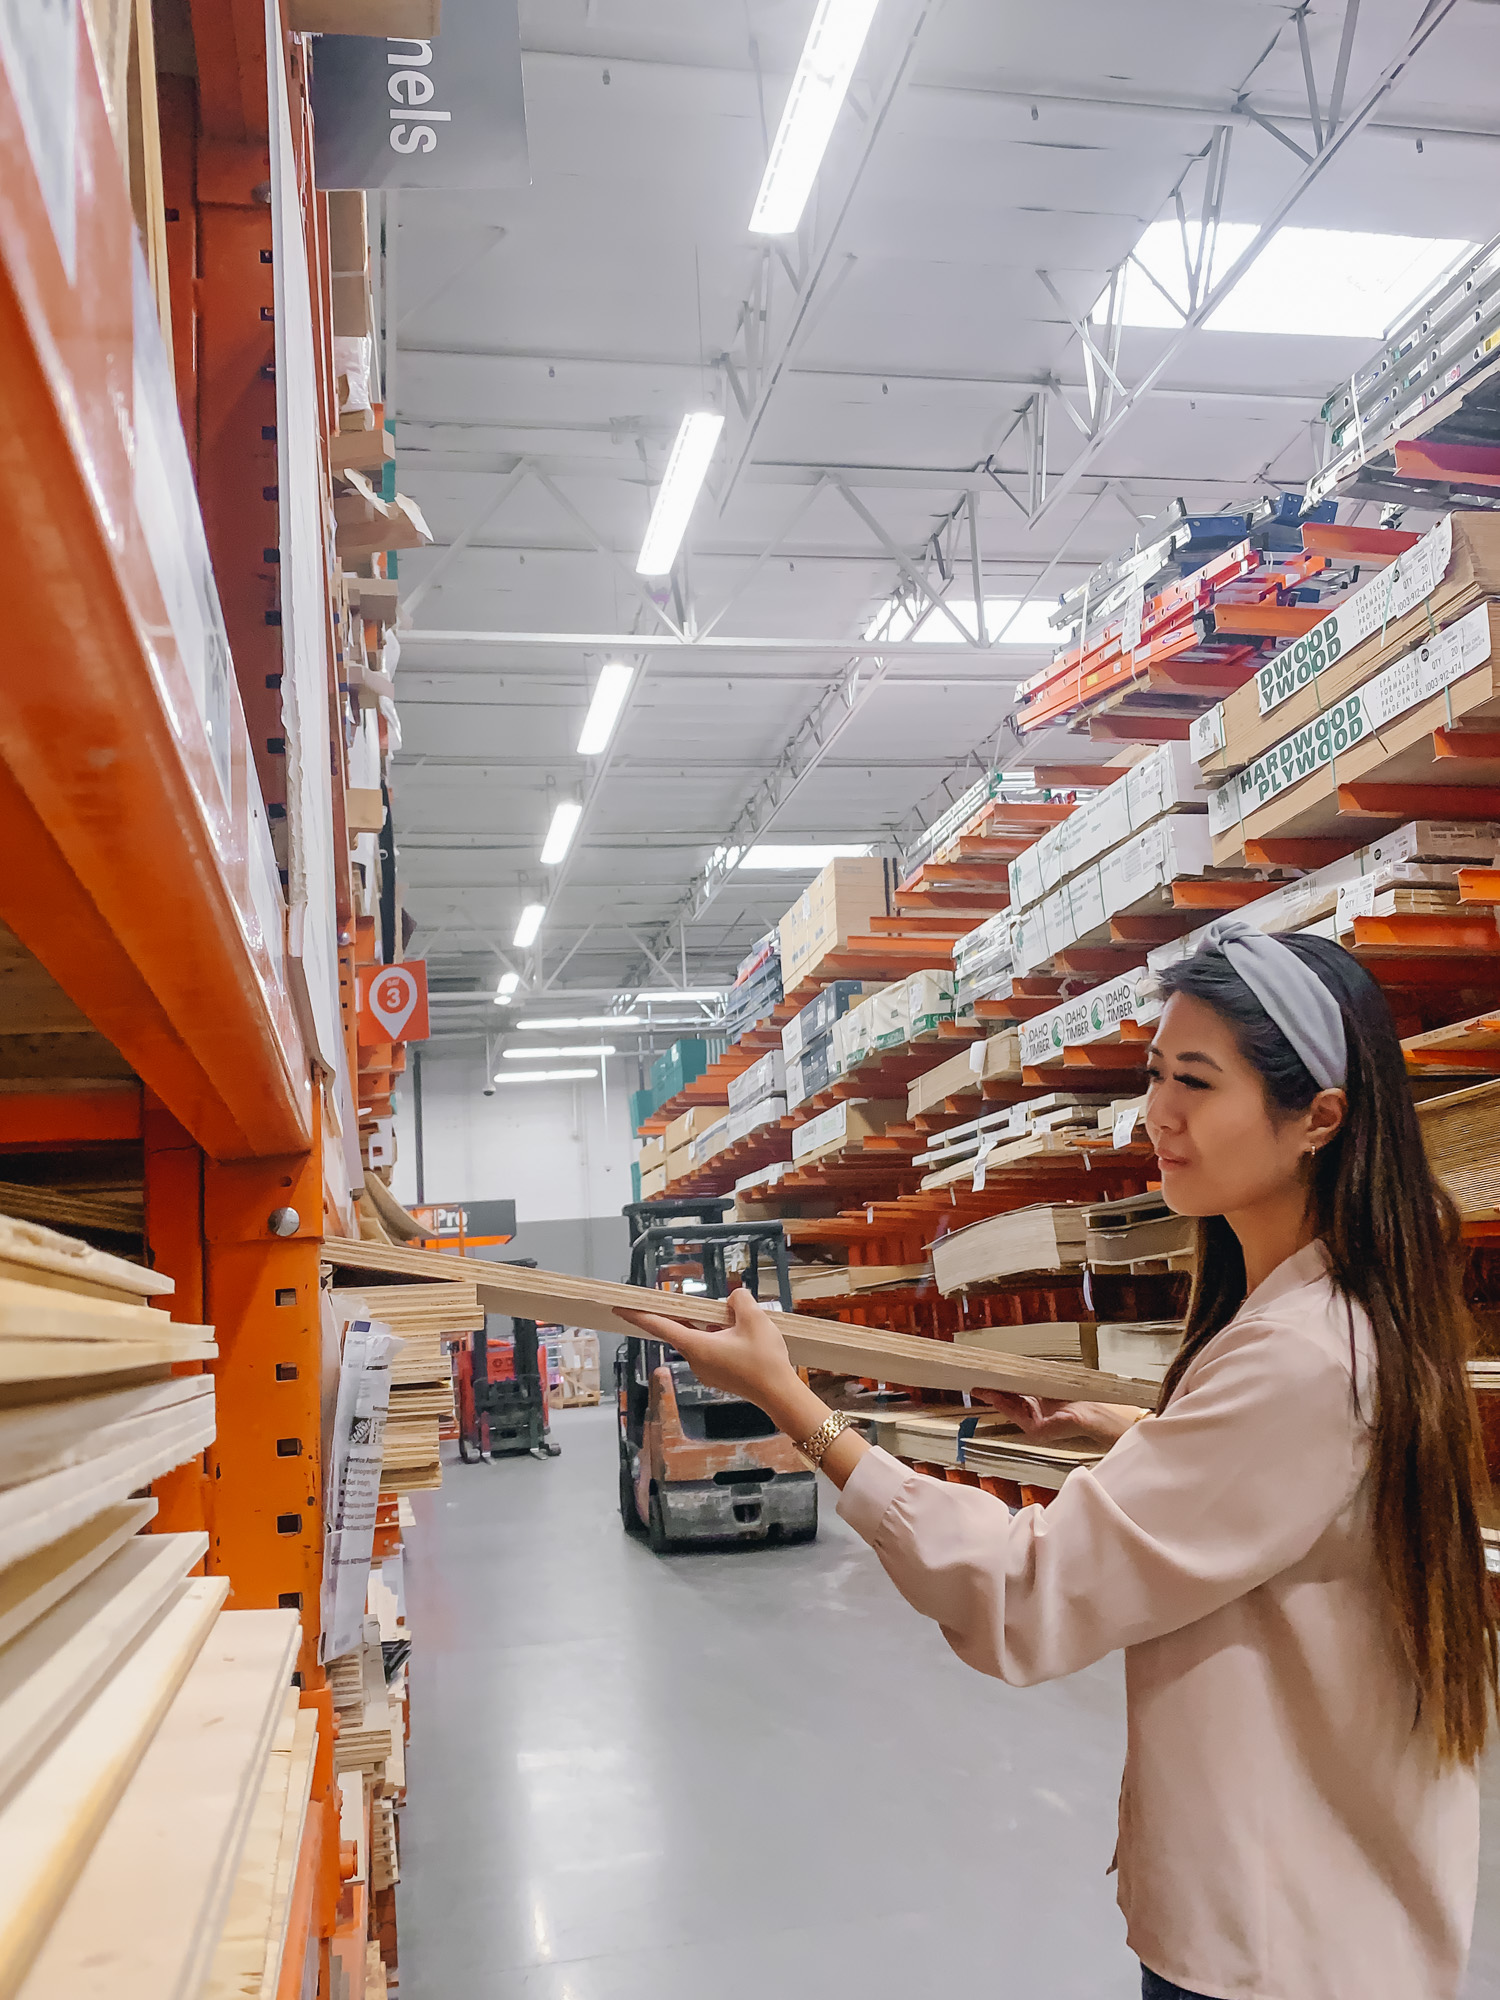
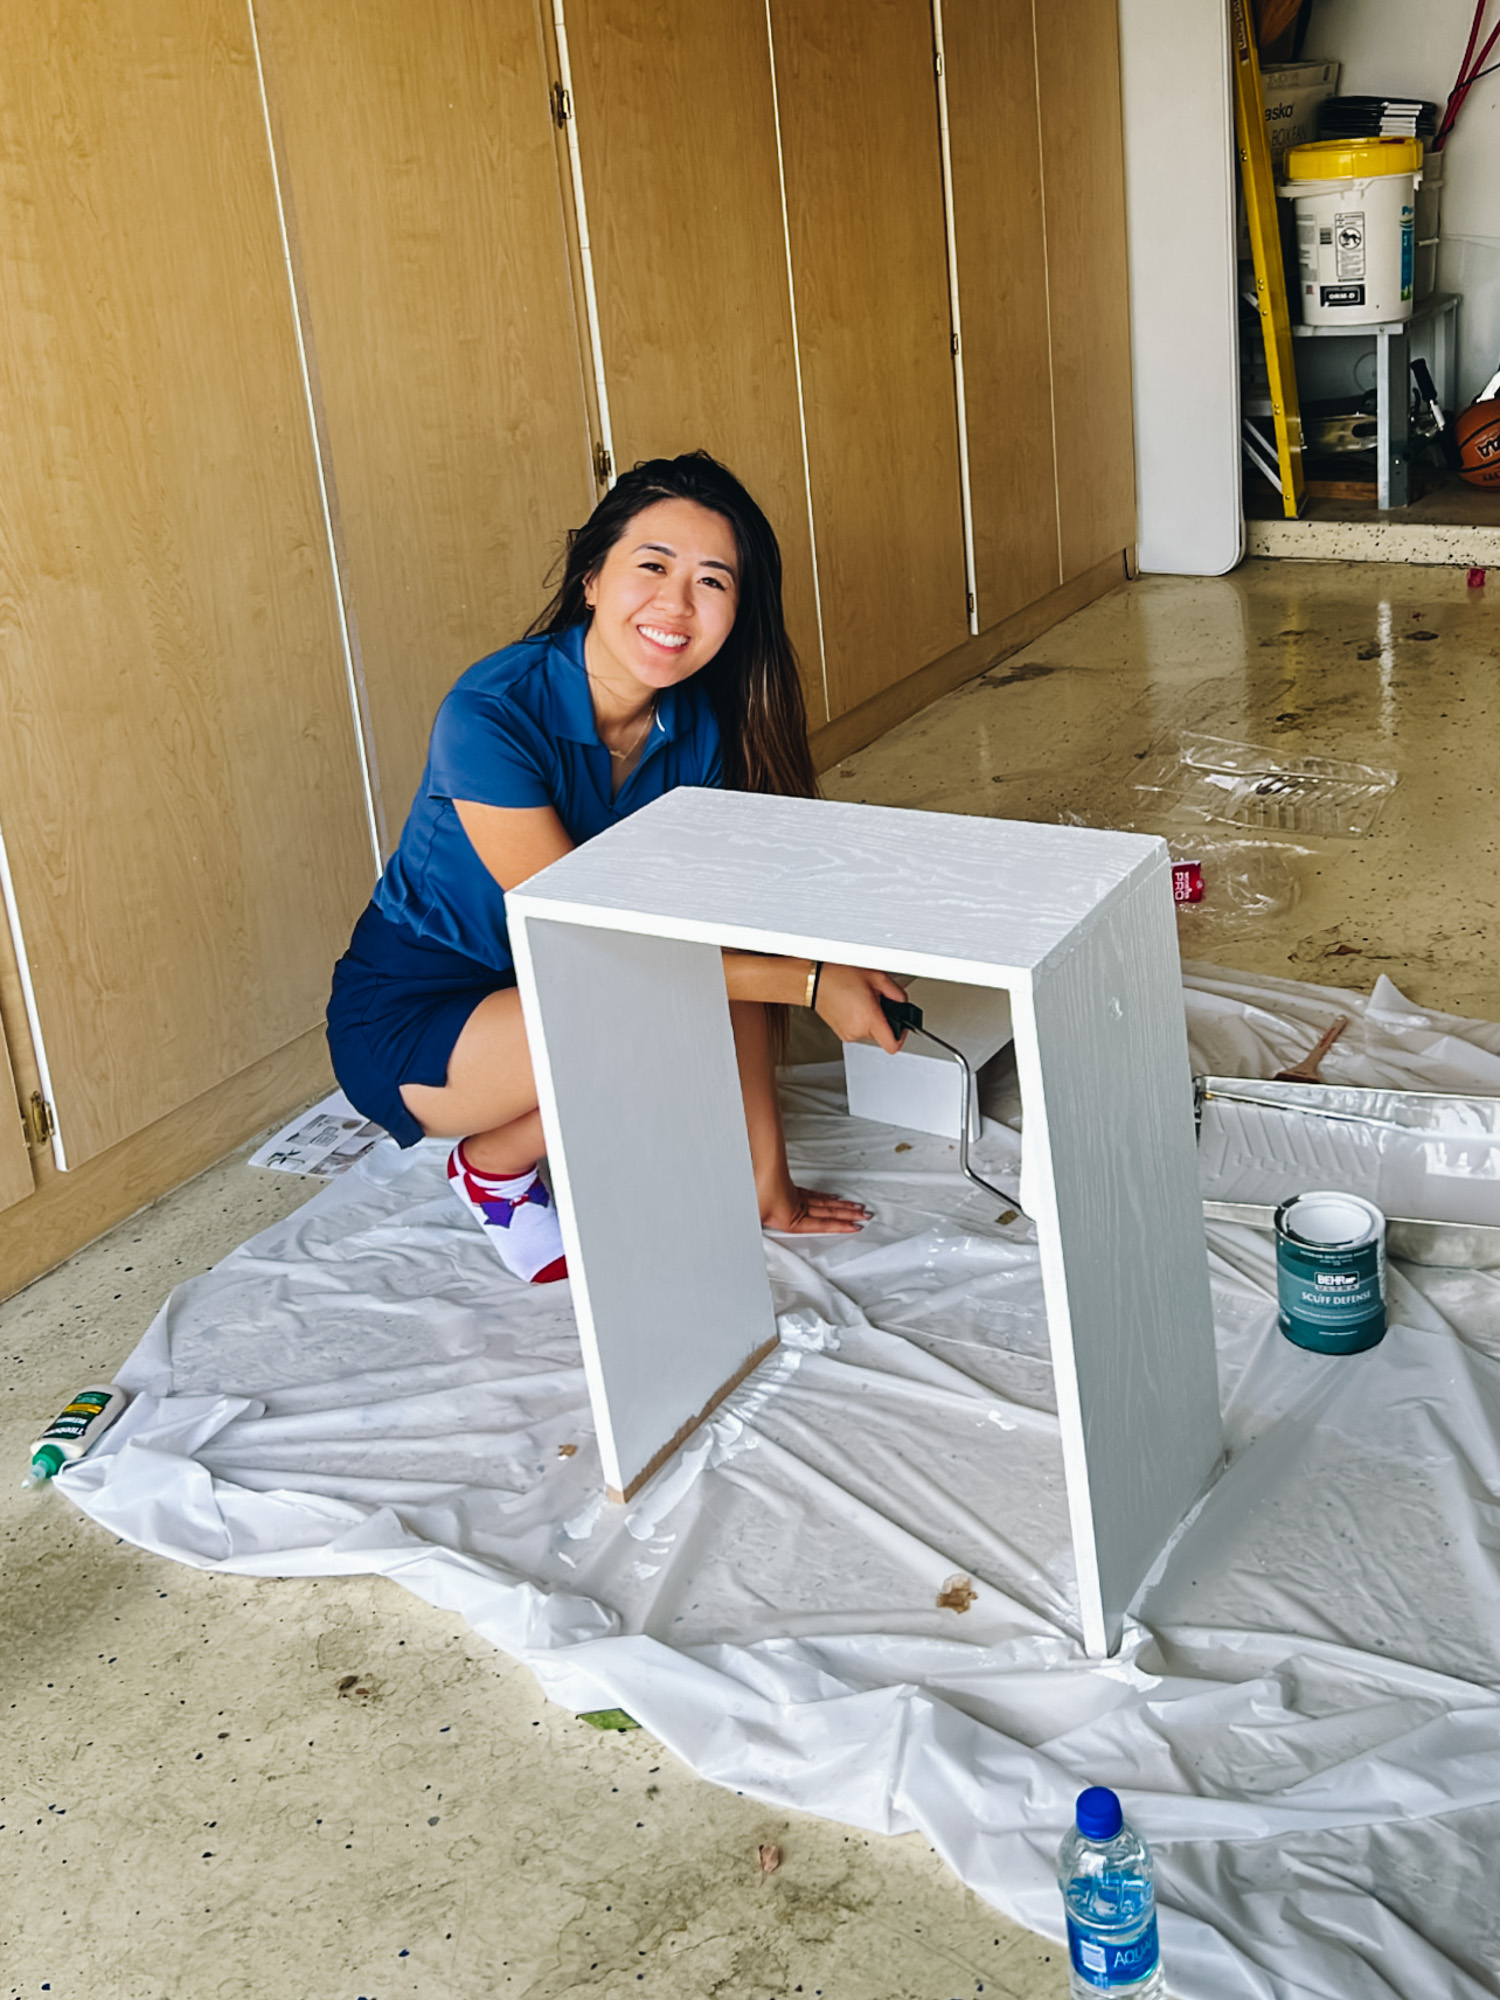
Anyway, my board games have been hidden inside a cardboard box. Since I recently learned how to “woodwork” (I built my own nightstand!), I wanted to build something that would be able to store my board games. I decided to build a bookcase! Since this wasn’t my first round, I knew exactly what to do and what wood to purchase.
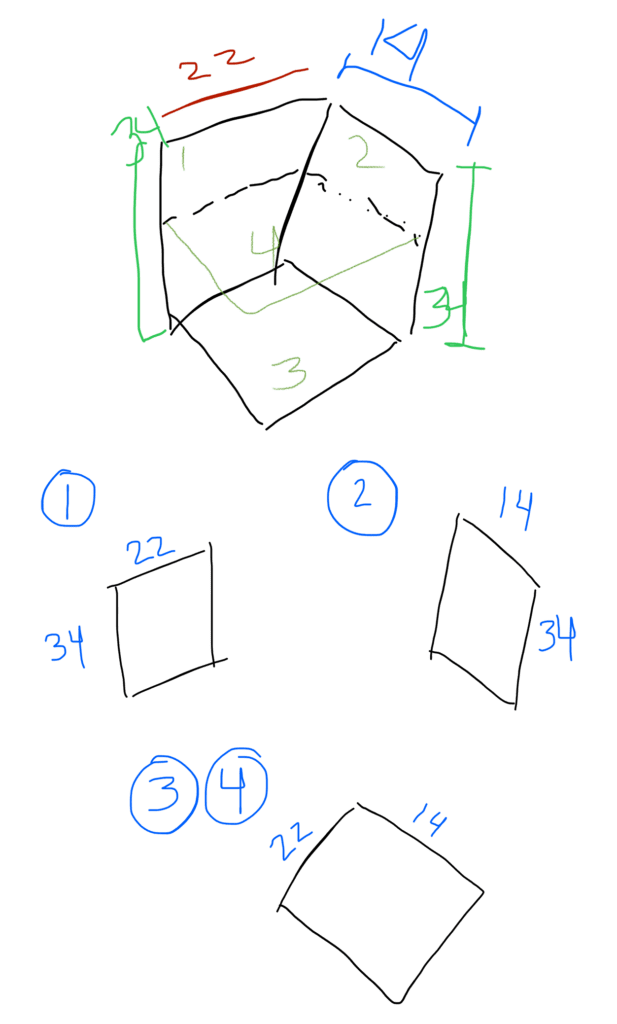
The nightstand that I made a few months ago cost me $80 just for the wood. For this project, I knew that I didn’t need wood that was super high quality since it was storing my board games. I made a blueprint before going into the store but because most places sell wood in planks, I had to think on the spot to make sure the updated measurements still work while being cost-efficient. I purchase two different types of wood – one was a lot bigger but slightly thinner and the other one was a tad smaller but thicker.
If you purchase wood from Home Depot, they can cut your wood for you!
Equipment for Building the Bookcase
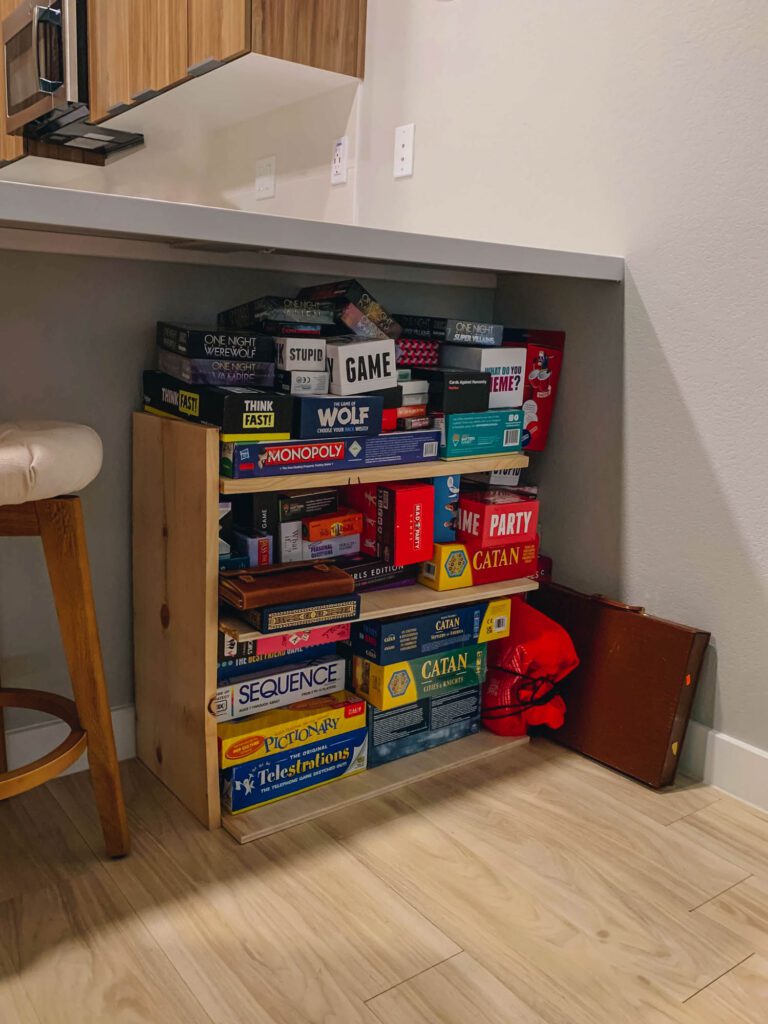
For the bookcase, I decided to keep the wood the natural color and not paint it white like the nightstand. I wanted the bookcase to have at least three tiers to it. The bottom shelf would have my larger board games, the middle shelf would have my medium size games, and the top section would have all my smaller games, like card games.
The first step is to sand down all the individual pieces. Sanding it down before assembling it will make it a lot easier and smoother than sanding it down afterward.


Wood Gluing the Furniture Together
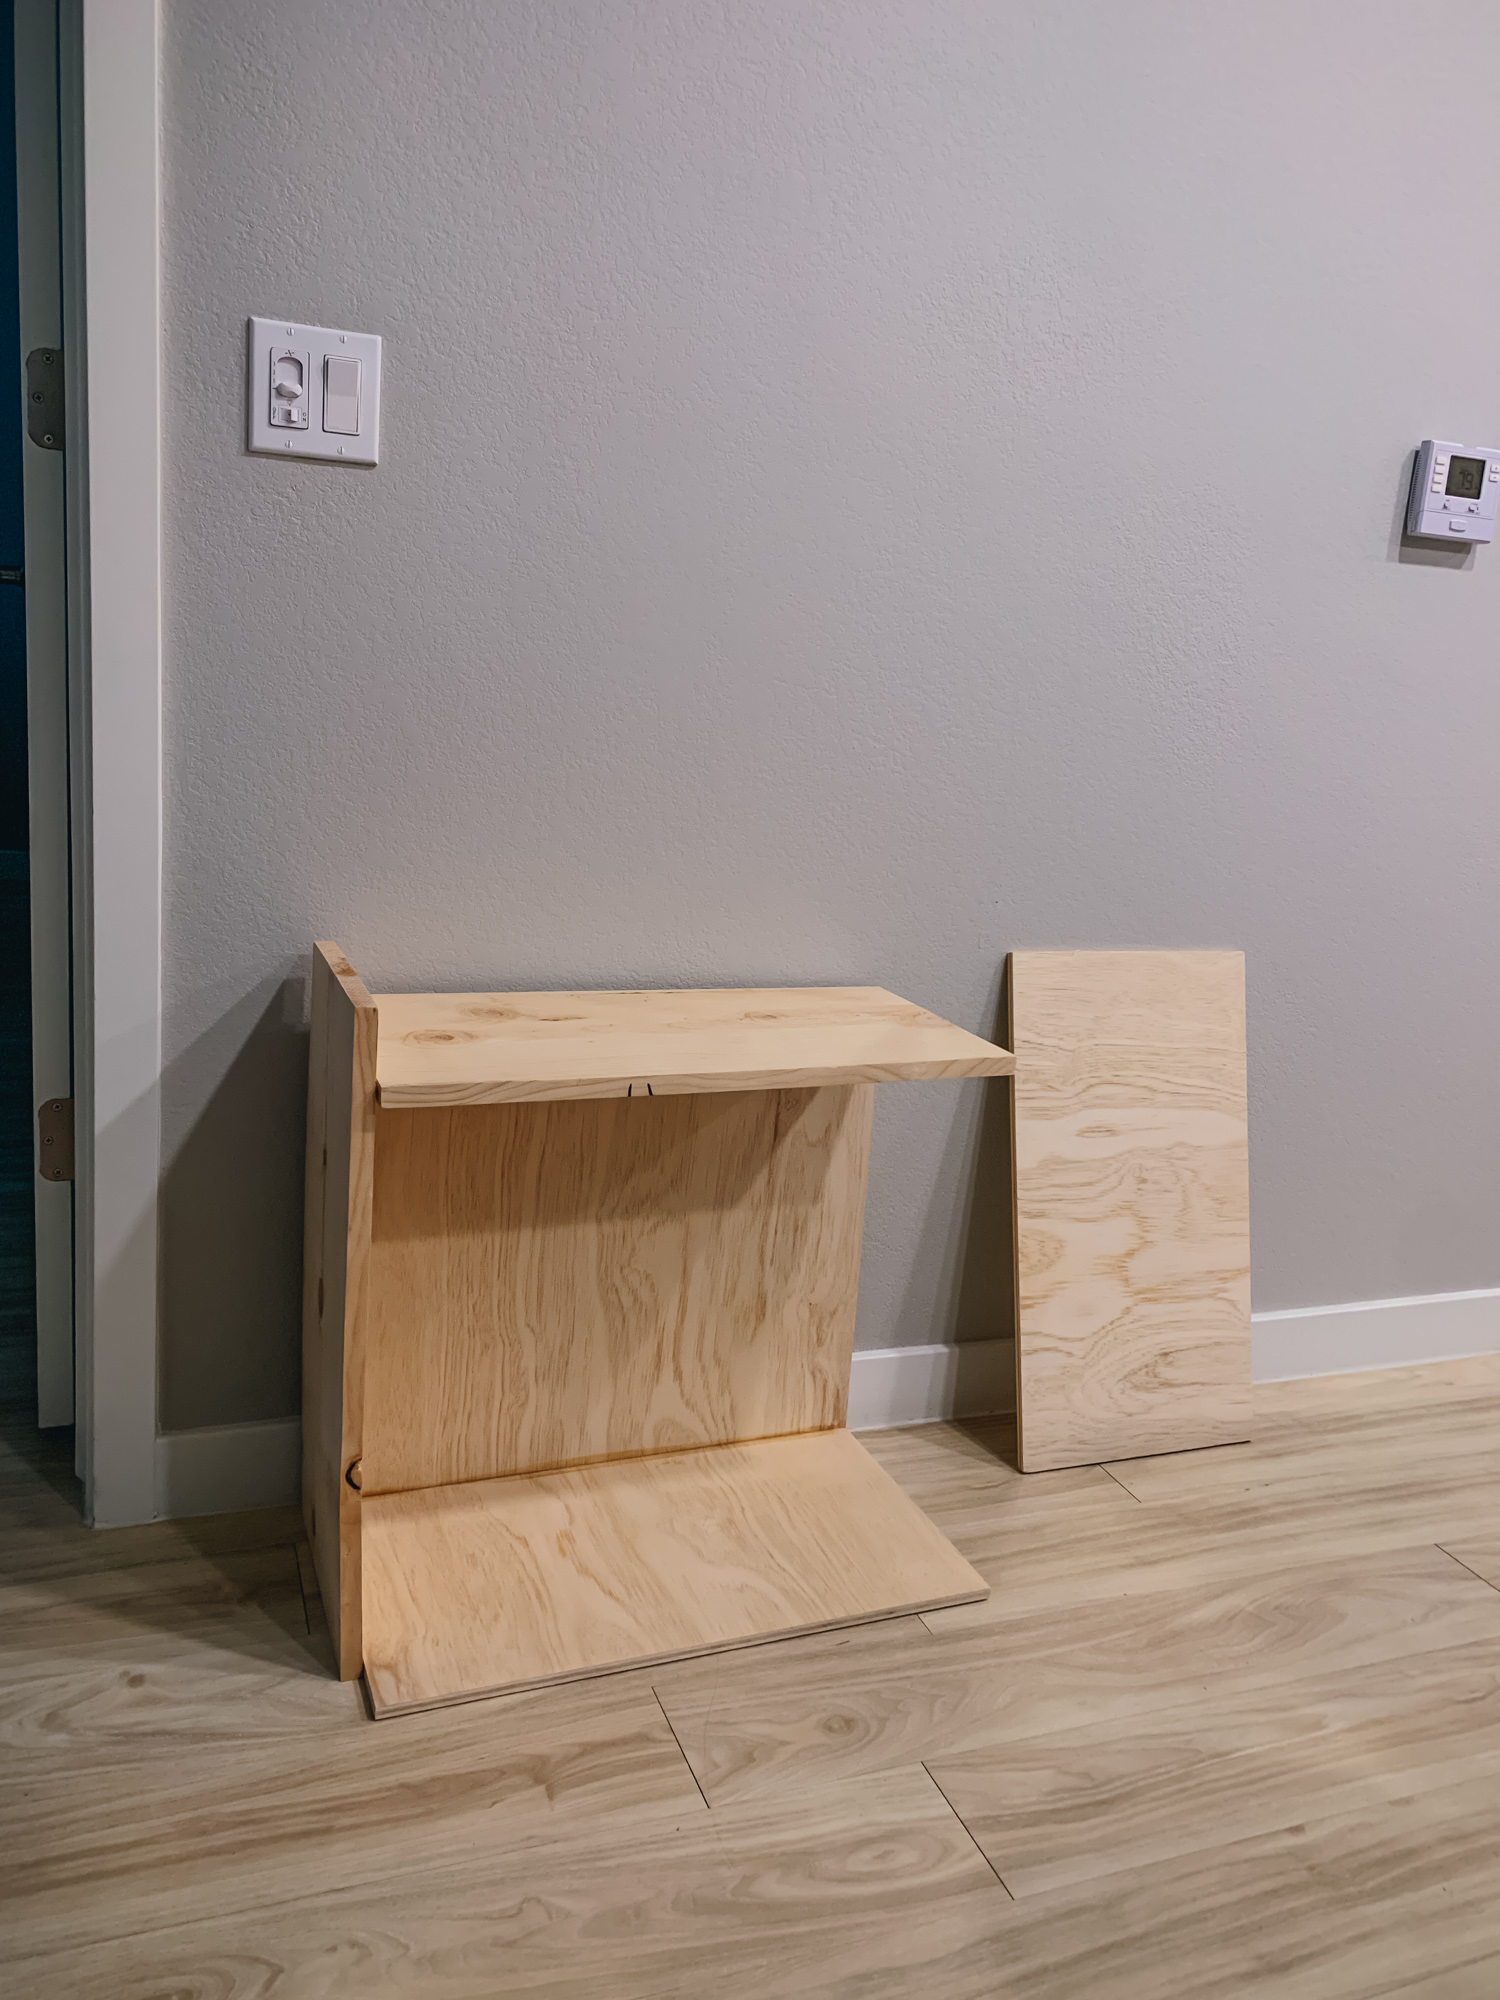
The next step is to glue all the pieces together. I didn’t use any drills or staples for this project. The wood glue itself is pretty great at holding all the pieces together. I glued the bottom shelf first, then the top shelf. I saved the middle shelf for last because I needed to measure out what games would be stored on the bottom first before placing the second shelf.
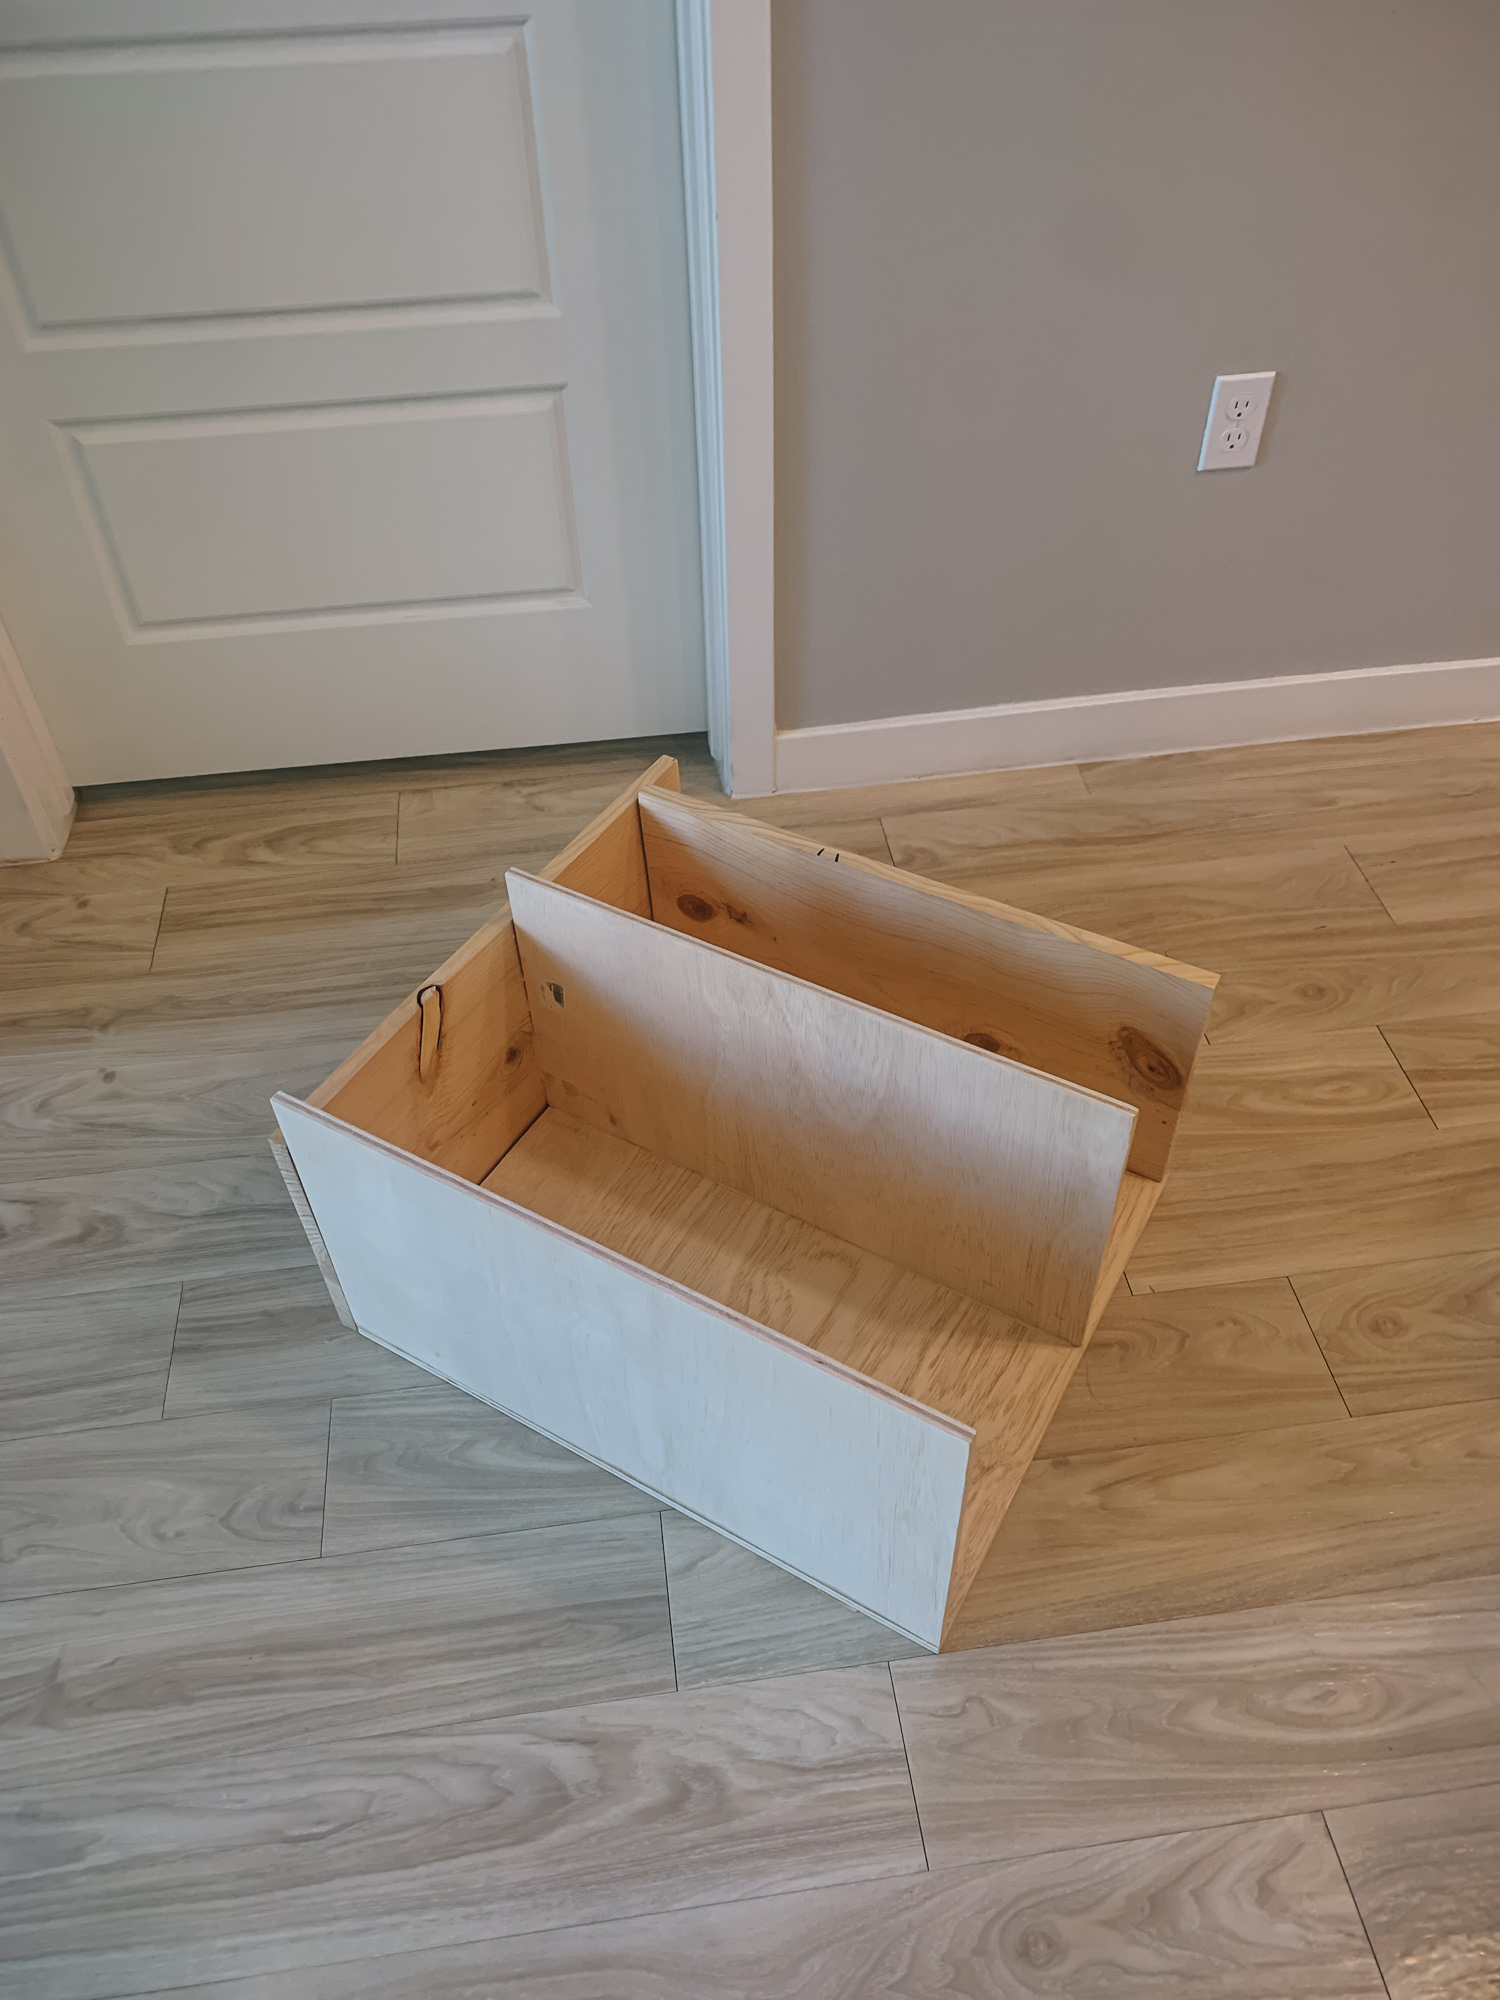
Overall, I’m pretty satisfied with the bookcase. I didn’t account for how many board games I have! If I was able to redo this woodworking project, I would have wanted to make a bigger bookcase to fit all my board games, but there’s nothing that really equates to building things yourself. I am super proud of my bookcase even though it was pretty simple and doesn’t fit all of my board games! I can’t wait to build more furniture in the future.

















Leave a Reply